Pages

Wednesday, July 31, 2013

Make It: Dreamcatcher Decoration

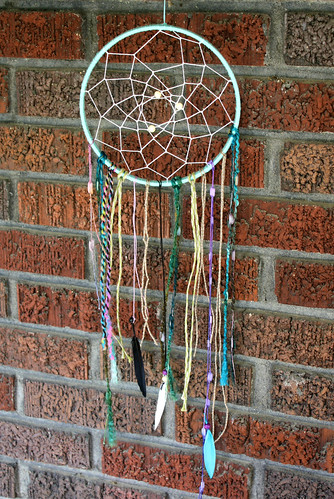
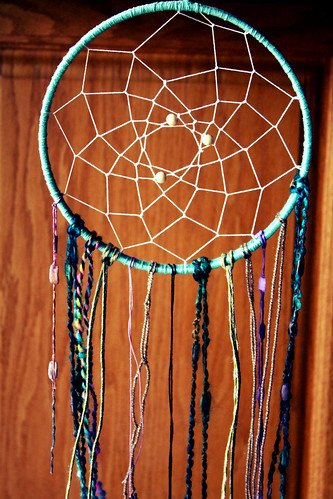
Locally the weather is getting a little cooler--surprising since it is still July--but it reminds me that summer is winding down and school is starting soon. I think a great transition between summer and fall would be to make a craft that brings the colors or shapes of the outdoors inside. I think this ocean-hued Dreamcatcher, with beads, feathers, or shells, is the perfect choice.

aIMG_2676

I love the folklore surrounding dream catchers. The idea is that when this decoration is hung above the bed, bad dreams get caught in the web while the good dreams pass through the circle and travel down the ribbons and feathers into the head of the sleeper. It is a very popular craft, taught in summer camps around North America! Feel free to use any supplies that you have on hand, whether it means using sticks and feathers from the yard, shells and driftwood from the beach, or yarn and ribbon from the craft store.

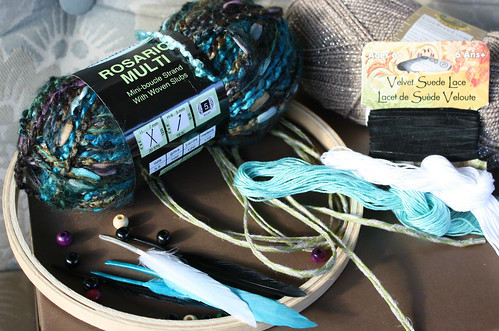
For my dreamcatcher I used fun yarns, string, dyed feathers & beads, and the inside ring of an embroidery hoop for the circular base. You could also bend the hoop shape from wire or anything else you can come up with in your imagination.
aIMG_2601

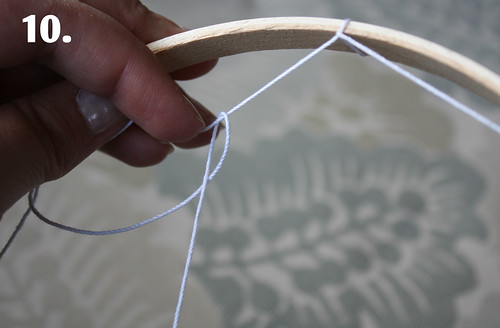
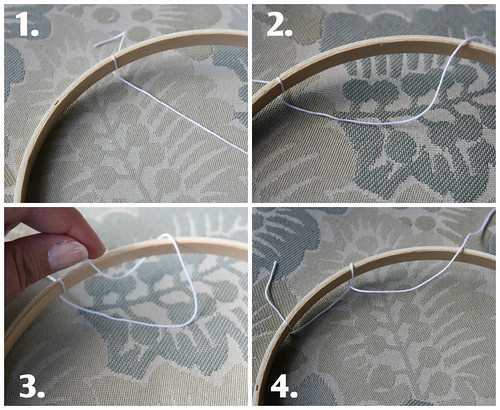
To start, tie one end of a small spool of string or thread to the wooden embroidery hoop. Once the end of the string is secure, wrap the string around the wood a few inches to the right, bringing the spool through the middle of the hole. Leave the string loop a little bit loose and repeat these steps all around the ring. 
collagedream 

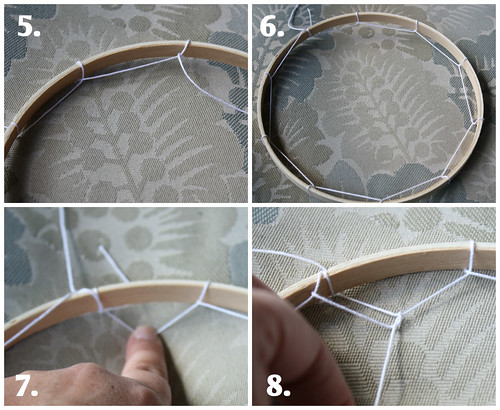
When you have done this around the entire circle, repeat steps but wrap the string around the center of the first loop of string this time, instead of the wood. Continue making loops through the first row of string all around the circle. Once you reach the end again, repeat steps by looping through the second row all around the circle.
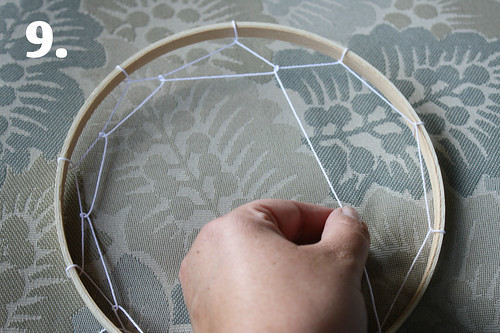
collagedream1

aIMG_2627

aIMG_2630 

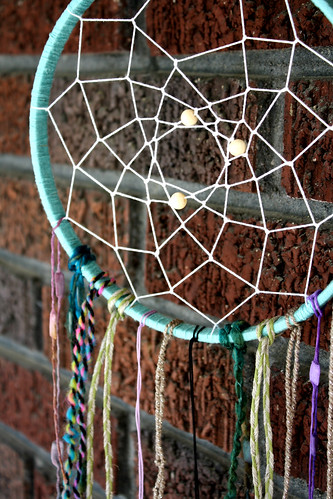
You can add beads to the “web” as you go, in whatever pattern you like. To do this, just bead the string and make a loop. Continue the loop-making steps until you are close to closing the gap in the center of the web.
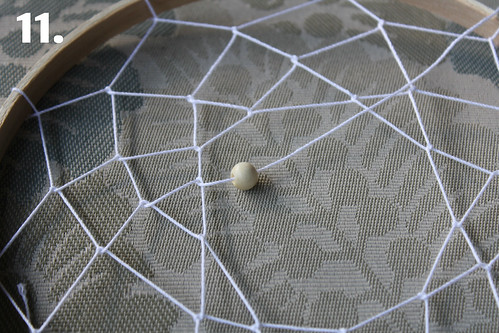
aIMG_2634 

You do want to leave a hole in the center of the web you are creating. The size can be up to you. To do this, just finish a row of loops and then tie off the end of the string to the web. The knot will be too small to notice. Cut off the excess string.
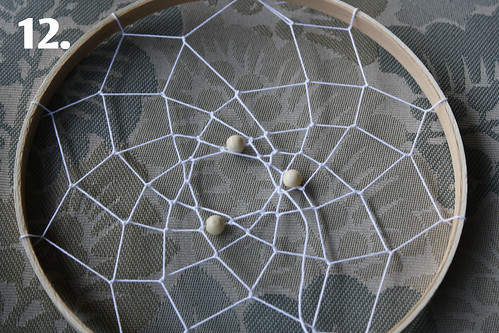
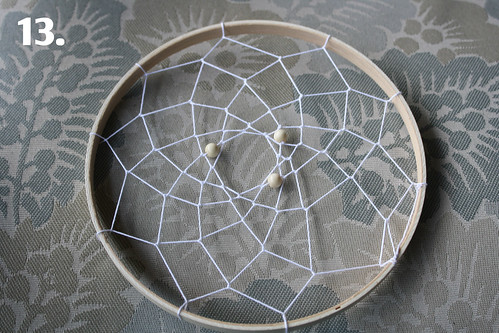
aIMG_263a8

aIMG_2640 

The final step is to decorate the your dreamcatcher. You can wrap an alternate color of string around the wooden hoop to give it a different hook, or you can leave the bare wood. I used teal string around the wooden hoop and white string for the center of the dreamcatcher. (Optional: You can also wrap the hoop with the different color string before you begin creating the web. That might be easier for some crafters).
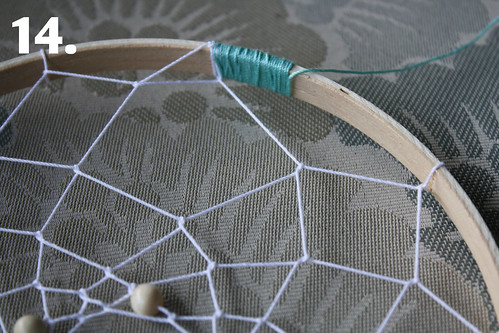
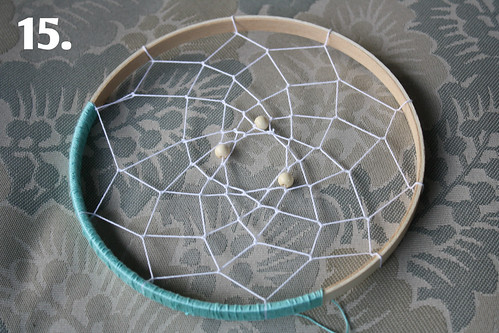
aIMG_2643

aIMG_2645

You also want to hang some feathers or string on the bottom of the dreamcatcher. I think that using a stash of eclectic yarn, ribbon, and string and looping them around the bottom of the circle is the best way to go. You could go with matchy matchy stuff, it’s just not my taste. If you don’t have beads, you can use shells. If you don’t have feathers, you can use leaves or fabric. It is really up to you!
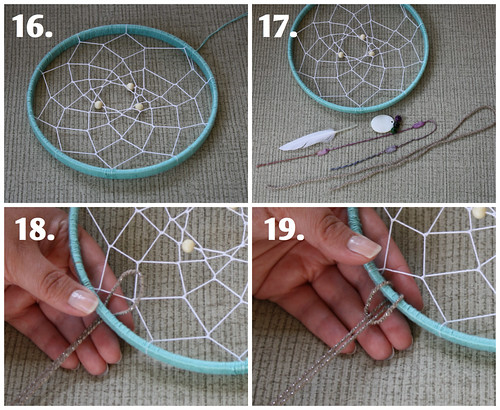
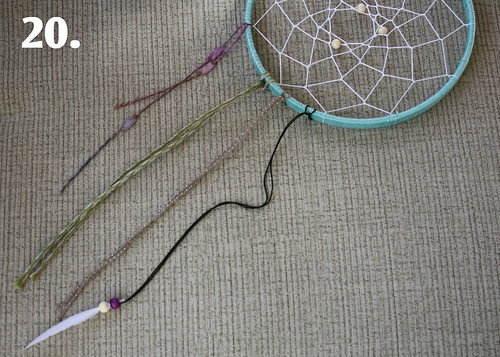
collagedream2

aIMG_2652 

Be sure to add a loop on top to hang your dreamcatcher above your bed. Sweet dreams!

aIMG_2671 

I hope that you enjoyed this craft, which I will be making on WDRB in the Morning today. I always have fun teaching crafts on television (every other Wednesday with Julee Lair of D.I.Y. Louisville). You can check out our past WDRB segments on my youtube channel and her youtube channel.

aIMG_2662

Monday, July 29, 2013

Super Sixth Birthday Blast!

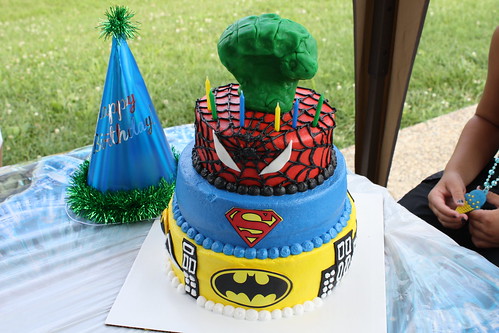
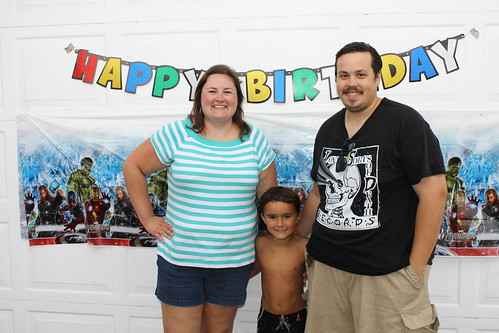
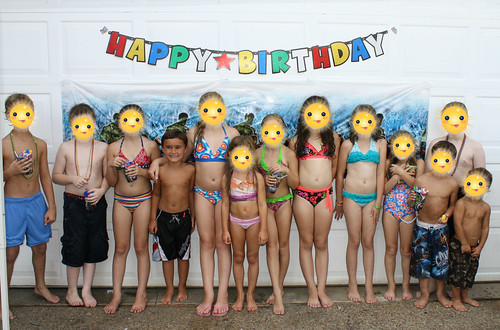
We had a 6th birthday this weekend, complete with a super-hero themed party for my nephew. This might actually be the third superhero themed party that he has had. He had a Spiderman party at 3 and a Batman party at 5. This time he just picked all of the superheroes-The Avengers and The Justice League! What can we do? He loves Superheroes!

IMG_2474

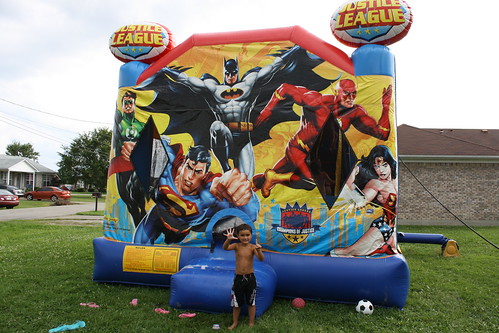
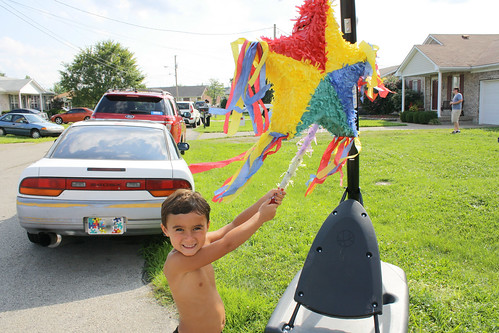
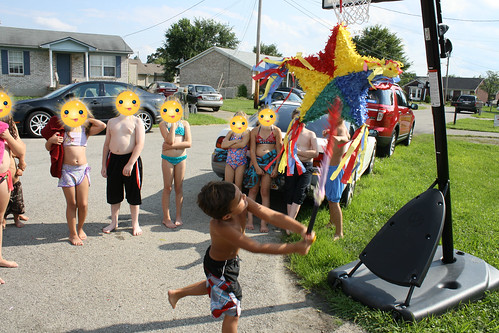
Since his birthday falls in the middle of the Summer, it usually makes for a very hot party. My parents spoil C with a air bounce with a water slide to keep the party cool for the kids. We also had a pinata, which all the kids loved, and pizza and cake.

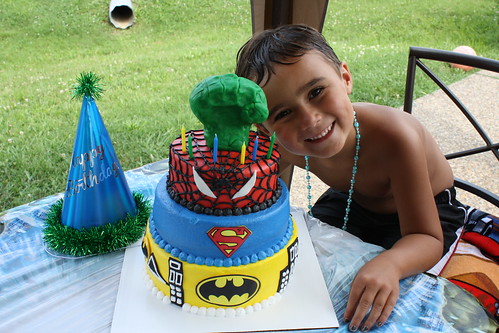
The cake was an awesome 3-tiered creation from our good friend Kruti of Kruti's Cake Bites. The Hulk's fist on top really makes this cake. Kruti says that the trick is molded rice krispy treats. For the other layers she used dyed frosting, fondant, and printed edible designs. There was one plastic Batman ring stuck in the side of the cake for the Birthday Boy to keep. He loved the cake and the tiers were each a different cake flavor, per his request. The top layer was 'birthday cake' flavored with sprinkles, the middle was chocolate, and the bottom was yellow cake.

IMG_2472

I can't believe it, but in all of the madness I actually didn't get to eat a piece of the cake myself! It was gobbled up so quickly. I've had enough of Kruti's delicious cake bites to know why! Her baking skills are #1! C had the best time with friends and family to celebrate his special day.

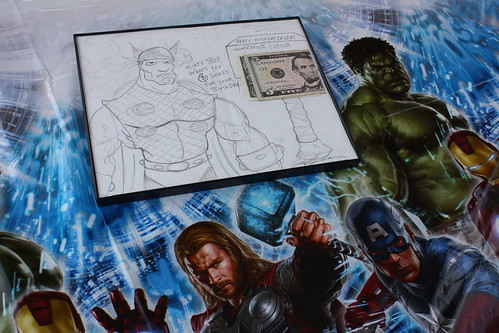
My favorite part of the party was when C opened his present from Joe and his eyes lit up. Ever since C was a baby, my boyfriend has given him a hand drawn card with money for his birthdays. The tradition began with an Elmo drawing and $1, then a Mr. Krabs card and $2, a Spiderman card and $3, and so on. On Saturday, he got a framed Thor drawing with $6, and he exclaimed to his friends, "This is from my Joe. He's a great artist!" It just made my heart melt.

IMG_2468

I am so glad to have spent such a fun day with the people I love, celebrating the little guy that we love on his big day.

IMG_2574 
 

IMG_2595 

IMG_2501a 

IMG_2512a 

IMG_2521b 

IMG_2454a

Friday, July 26, 2013

Easy Banana Bread

Do you have one of those foods that just puts you in a good mood? I'm talking about one of those foods that the sight, smell, touch, or taste just makes you happy! For me, that food is banana bread. I don't know why it is, but there is something about it that is so comforting to me. I'm not much of a coffee drinker, but pour me some chocolate milk and I'm set!

IMG_2294

Even the process of making the banana bread is calming and relaxing for me. I am not really much of a cook, but I do sometimes enjoy baking, and when you make banana bread it smells so sweet and yummy from start to finish. We have bananas around the house a lot, but sometimes a few of the bananas are overripe for eating alone, so I have been using them in this recipe by Elise Bauer

IMG_2217

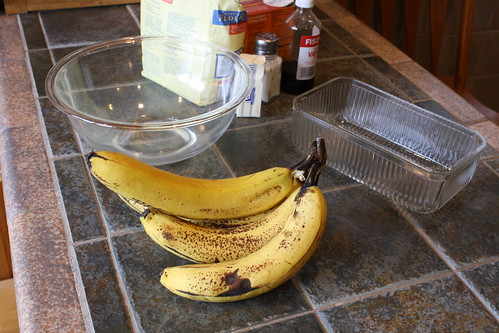
What I like about the recipe is that the ingredients are pretty standard. We keep most of these things on hand at home. All you need are 3-4 bananas, 1/3 cup of melted butter, almost 1 cup of sugar, 1 egg, 1 teaspoon of vanilla, 1 teaspoon of baking soda, a pinch of salt, and 1 and 1/2 cups of all-purpose flour.

IMG_2222

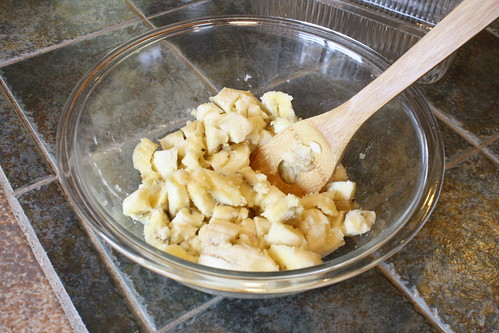
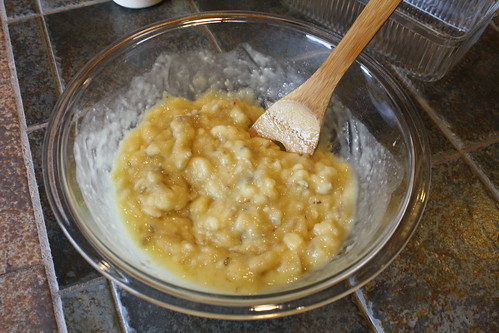
My other favorite thing about this recipe is that you do not have to use a mixer. Talk about easy! You can combine the ingredients just by using a spoon in your hand. First you mash the bananas, and then you gently combine all of the other ingredients (making sure to add the flour to the mixture last). 

IMG_2225

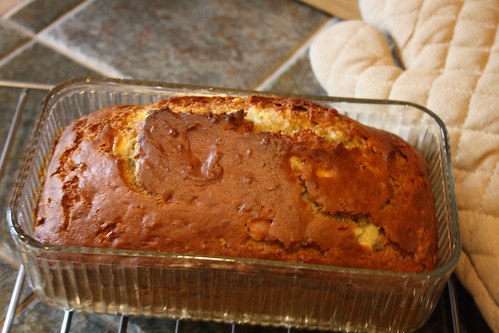
Once you have mixed your yummy banana bread concoction, scoop the ooey gooeyness into a buttered pan. Try to use a bread or loaf pan if you have one on hand. Bake up the bread in the oven for 1 hour at 350 degrees Fahrenheit. Once the banana bread is nice and golden, and puffed up in the pan, remove it from the oven and set to cool on a rack.

IMG_2277 

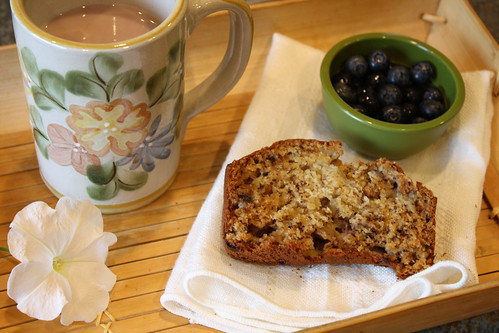
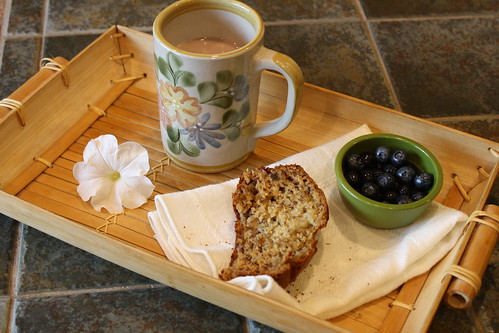
That is all you need to do to make this yummy banana bread recipe. Hard to believe it right? The last step is to eat it! I also like to change things up by adding walnuts or chocolate chips. It's my special secret to keeping this recipe exciting and fulfilling. In one batch, I added mini milk chocolate chips and the banana bread disappeared in less than a day!

IMG_2286

What about you? Do you have a recipe that is your go-to for comfort food? I would love to swap recipes with you! Send me a link or leave me a comment below.
Thursday, July 25, 2013

Book Look: Crafty Chloe

One of the things I have noticed, which I think is pretty cool, is a new wave of kid's books involved crafts, art, and making stuff. As a kid, I loved being crafty and I loved to read. Of course I always checked out craft instruction books, but craft story books would've been fun too!
IMG_2237

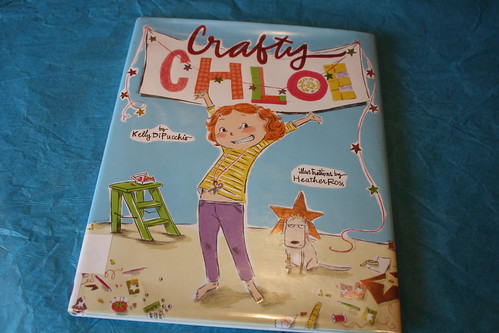
That's why I like "Crafty Chloe." I discovered this book on a recent library trip. My nephew is learning to read, so I thought this would be a fun book. Turns out that I really like it too!

IMG_2250

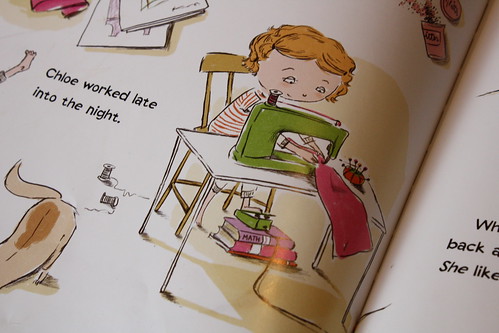
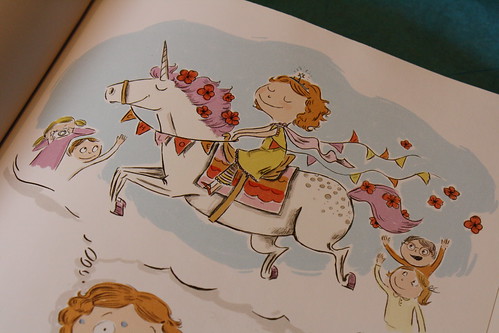
The book follows Chloe, a crafty girl hoping to make a birthday present for her best friend. I love the illustrations, which are by Heather Ross, an amazing fabric designer. The book is written by Kelly DiPucchio, who coincidentally wrote one of my nephew's favorite books: "Zombie in Love."


IMG_2253

We were also excited to learn that this book will be a series and another Crafty Chloe book is due out this August. How exciting!

IMG_2252

Are there any books you or your kiddos are really into lately? I will share some of my own reads later. In the meantime, my nephew and I recommend this read!

Wednesday, July 24, 2013

Video: Handmade Stamps

Last week I was invited to share a summer project on WDRB in the Morning. I chose to make beach themed "rubber" stamps using craft foam and wood blocks. This project can be made very easily for not a lot of money!


Plus, this project is a lot of fun! If you would like to see the full instructions, you can find them on my blog here.

Tuesday, July 23, 2013

Soaking up the Sun

We are soaking up all of the summer sun and FUN over here! This time of year is truly so much fun, especially when I get to hang out with my nephew. It's his birthday week and we kicked it off with a bang by going to the Louisville Science Center, the Georgetown Drive-In, and swimming!


liz3

liz1

IMG_2268

IMG_2446

IMG_2443

What fun summer activities are you doing? I'd love to get some ideas before my nephew goes back to school. What do you like to do?

Tuesday, July 16, 2013

Handmade Stamps

Looking for a fun Summer project? Grab some craft foam and wooden blocks and make your own stamps! This project is easy and can be a great way to spend an afternoon, with kids, or with friends! Use these handmade stamps to make cards, scrapbook, or make gifts.
aIMG_2407
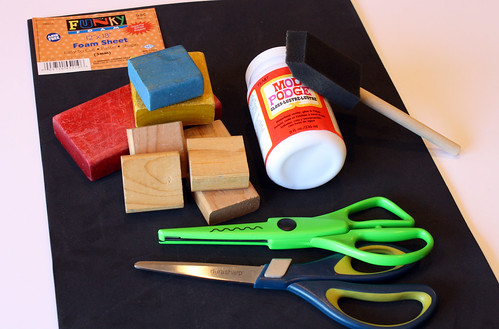
For your handmade stamps you will need:
Craft Foam
Wooden blocks (can use old toy blocks)
Glue
Foam brush
Wave silly scissors
Regular scissors
aIMG_2336
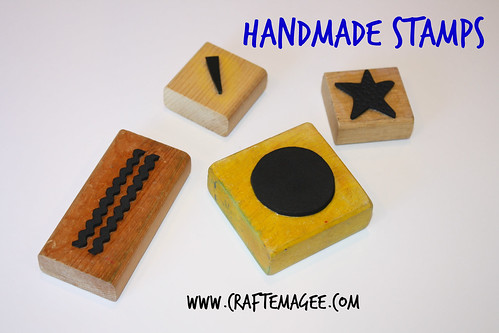
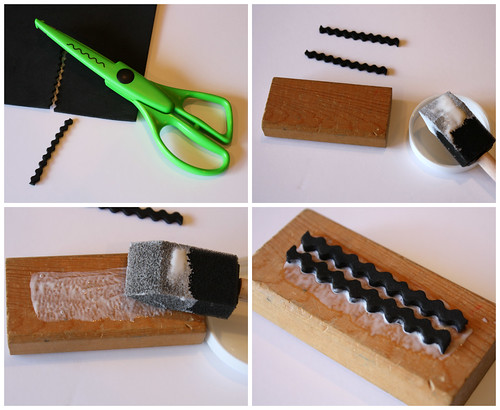
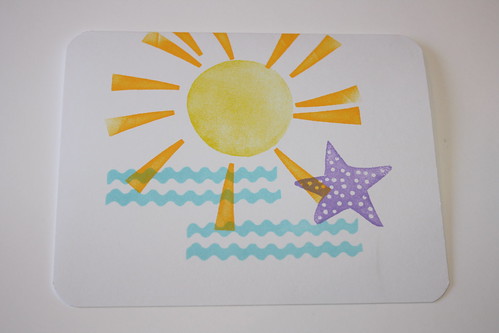
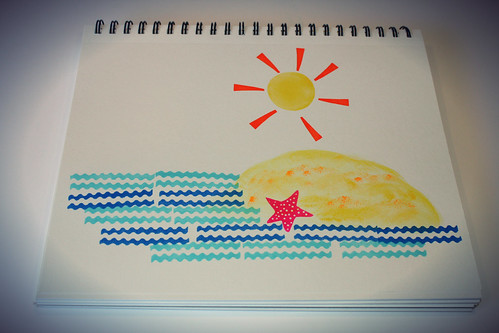
I made a few different stamps including waves, a circle for the sun, a thin triangle for the sun ray, and a starfish. To make the first stamp, take the silly scissors and cut out 2 lines of waves from the craft foam. Using white glue (like mod podge), attach the waves to an old wooden toy block.
acollage
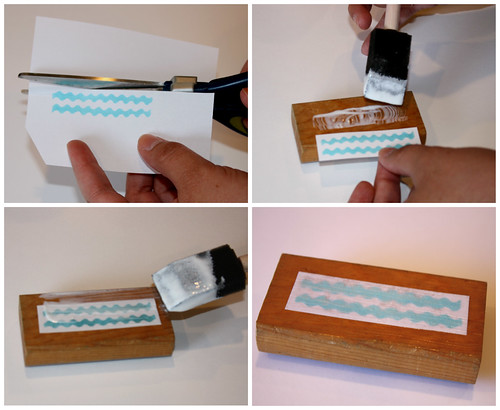
Once the stamp has dried for a few hours, you can use the stamp to ink the image on white paper. Cut out the image and glue it to the other side of the stamp. Coat the whole side of the block with the mod podge or white glue to seal the image. This completes your stamp!
bcollage
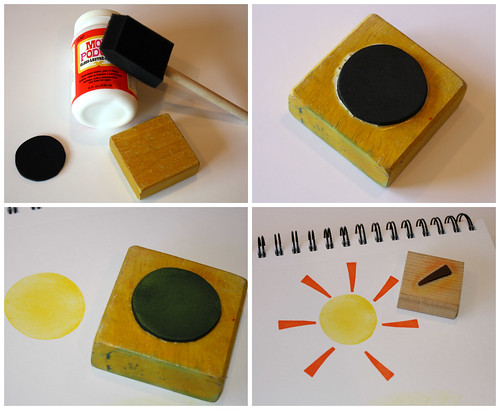
For the sun stamps, cut a circle and a thin triangle from craft foam. Glue each piece to their own blocks. Repeat steps from above to attach the stamp designs to the other sides of the blocks.
ccollage
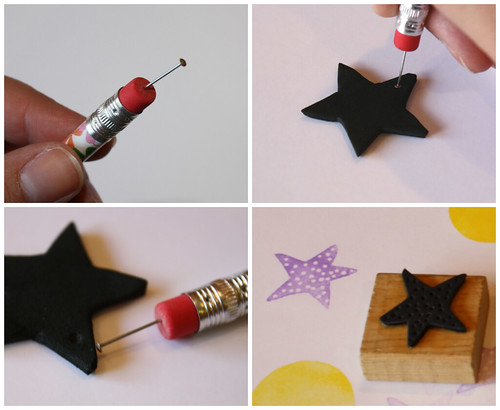
For the starfish stamp, cut out a star shape from craft foam. I chose not to cut out a perfect star, so that it looks like it is in movement. To add texture to the stamp, use a flat pin head. You can push the pin into a pencil eraser to hold it, and then press dots into the star. These pressed dots or holes leave white (or negative spaces) in the stamped image.
dcollage
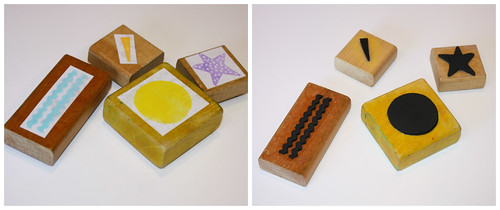
Here are the finished stamps. I had a lot of fun making this project. The possibilities are truly endless!
ecollage
The last thing to do is grab some ink pads and start stamping! 
IMG_2430
Have fun using your beach stamps to make artwork, note cards, scrapbook embellishments and more!
aIMG_2417

Sunday, July 14, 2013

Free Printable: Movie Night Invitation

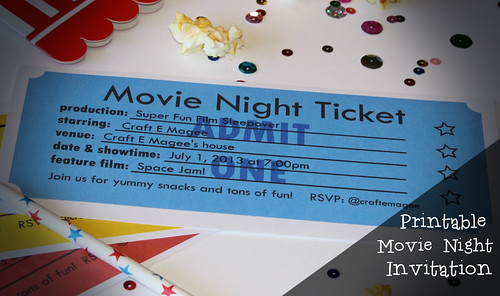
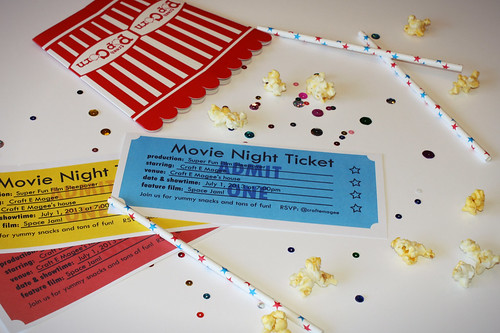
If you've read my blog before, you might guess how much I like themed parties! I love planning all the details it takes to pull off a fun party. Most recently I had a small movie night sleepover with my nephew. Inspired by that, I decided to make a set of printable movie night ticket invitations.

aIMG_2321
 
Oh, and it's free!! Download the free printable movie invitation here

aIMG_2322 

The invitation is meant to print on a 8.5 x 11 size sheet of white cardstock paper, 3 invitations to a page. The tickets are blue, yellow, and red, and the text fields can be filled out once you download the PDF file.

aIMG_2326

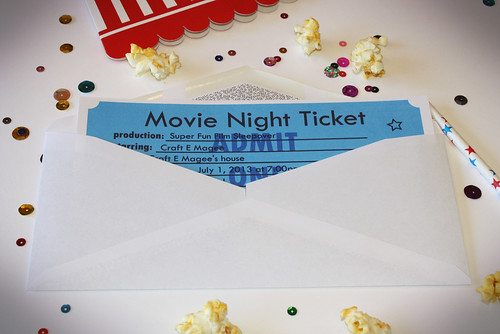
These tickets fit perfectly into a business envelope (size #10) so that you can mail them as invitations for your next movie night party! I hope that you like them!

As always with my printables, I'd love to see photos of how you used them. Remember that each printable is free for personal use only. Enjoy!