This simple tutorial will teach you how to make your own binding! In fact, I'll show you two simple ways to make the bias tape for your sewing projects.
All you need is a long string of fabric (my pieces were 2.5 to 3 inches wide and about 45 inches long). If you do not have enough fabric to cut such a long piece, you can join smaller pieces together. Usually, you might need multiple strips of binding for your projects, especially if you are using it on a quilt.
Way #1
Lay the long piece of fabric face down (right side down) on a table.
Fold the sides of the fabric longways so the edges are close to touching.
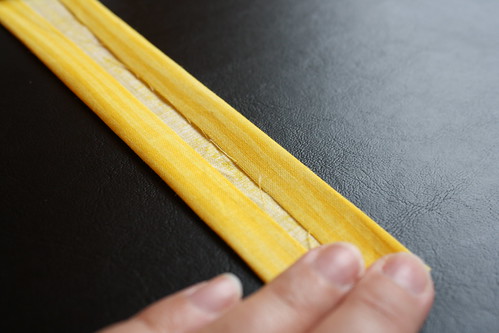
Fold the fabric again lengthwise.

Pin this together.
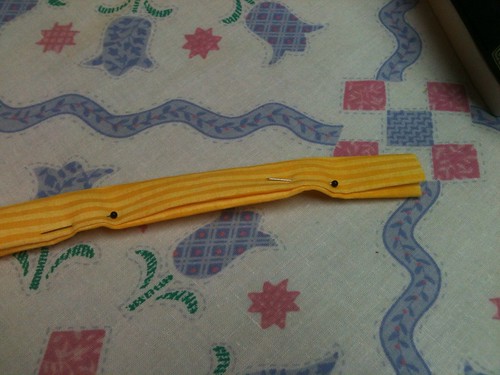
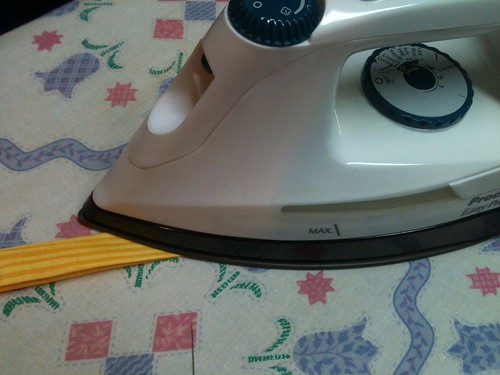
Warm up an iron and run this over the folded fabric to create crisp edges, removing the pins as you go. You have finished your binding/bias tape!
Way #2
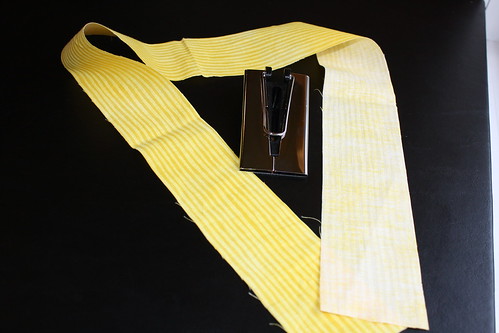
Use a metal bias tape maker. These can be bought in all different sizes, and are easy to use. All you have to do is feed the fabric (right side down) through the metal tape maker and it folds the edges over for you.
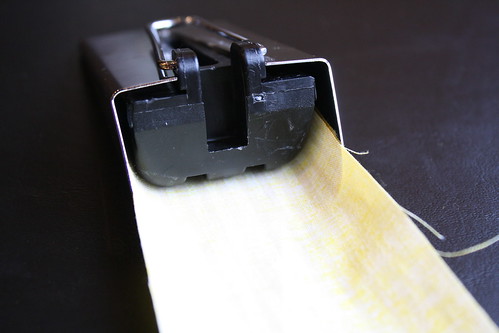
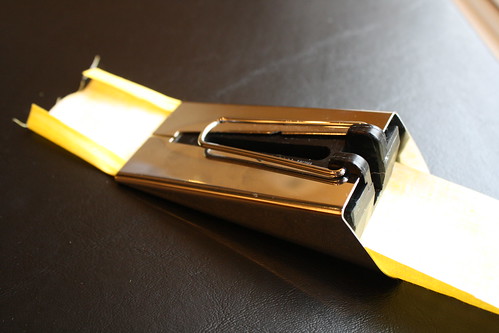
Take the end that comes out of the bias tape maker and fold that in half again (creating the double fold). Pin this strip of fabric together.
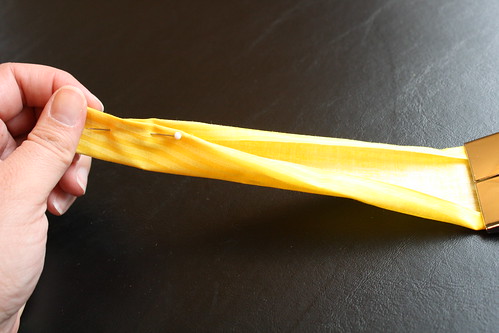
Once the strip of bias tape is pinned, iron the folded fabric to make nice creases, removing pins as you go. You have finished your bias tape!
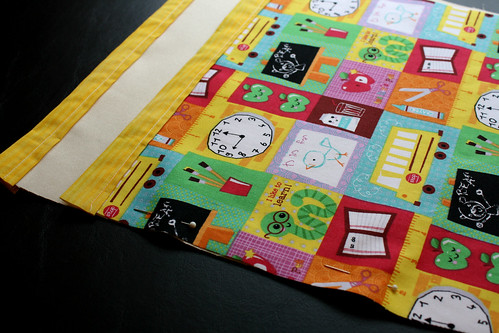
Binding, or bias tape, can be used to finish almost any project you are hoping to make. It can finish the edges of your quilts, close the seam on your Christmas stockings, finish edges on clothing, and so much more. For your next project, why not use the bias tape you have created to make this Back to School tote bag? It's perfect for toting books from the library or homework assignments from school.

https://www.youtube.com/watch?v=1k_6LFZ8GLo
ReplyDeleteWhat size device is the man using in this video? What size double folded bias tape does it make? I am looking to make quilt binding like in the stores that is 7/8" to 1" wide after being double folded.