Monday, December 22, 2014

December (and November) Crafternoon(s)

Remember that time when I posted photos from the October crafternoon party that I hosted and promised November pictures? Well, that crafternoon came and went, and then another occurred in December! So instead of looking at it as me being tardy, let's just say that this is a two-for-one special! That sounds much better. :)

I'll share the December photos first, since they are so colorful! We made Christmas ornaments with this tutorial, and just had fun coloring too! The menu included cookies and cocoa, with an array of toppings.


One craft table was nestled comfortably by the tree in the living room and included shapes and stickers to ornaments from construction paper. The fun tablecloth from Target was crayon-friendly too!


My Aunt and cousin had fun with the crayons and stickers while listening to the Holiday music station on the television.


Just a few steps away in the dining room, we were set up with pledge, glitter, and glass ornaments! I put a vinyl tablecloth down to capture some of the glitter, and made sure each guest used a paper plate underneath their ornament while pouring the glitter!


Here are some of the finished ornaments. Look at all of those pretty colors!


It is always fun to get my craft on with my family! The day was full of laughter, yummy treats, and crafts. What more could we want?


A few weeks before the December crafternoon, we celebrated Thanksgiving with turkey crafts in November.

For the November crafternoon, we snacked on cookies and cheese dips with crackers and chips. My favorite were the "acorn" treats made from nutter butter mini cookies, Hershey kisses, and chocolate chips!


We also made crockpot Swedish meatballs. Yum yum!


Our turkey crafts included hand turkeys drawn on wood blocks with crayons and colored pencils. Fun mementos for those little kid hands!


The other turkey craft that we made were clothespin turkeys.


We used the pages of an old Thesaurus that was falling apart for the feathers on our clothespin turkeys. Felt and puffy paint rounded out our supplies on this craft! Oh--and we used silly scissors too!


My extended family enjoyed crafting it up in honor of Turkey day!


I hope you enjoyed seeing our crafternoon parties for November and December. Now I have to hunt for ideas for January! I think I will try to enjoy some of my Holiday time off before I plan that, but if you have any craft ideas for me, feel free to share them in the comment section. Otherwise, see you on Pinterest! :)

Saturday, December 20, 2014

Easy Photo Frame Ornaments

Looking for a last-minute gift idea? These photo frame ornaments look great and are super easy to make. Plus, the costs involved are minimal. All you need is the canning lid from a glass jar (the canning lid with 2 pieces), a photograph, some ribbon, and glue!


I hope that I am not the only one who still prints photos. J and I took a great photo together on my birthday this month, so I was looking for a way to use the photo after printing it. I decided that this easy photo frame ornament was the way to go. If you don't have any recent pictures, of course you can use old family photos too! How do you like the one of me and my siblings from when we were kids? Funny how our personalities shine through in the photograph.


To make this easy ornament, simply get a canning lid from a glass jar. There should be a frame piece and a circular piece that inserts into the frame. The circular piece is where you will glue the photo.


First you need to position the frame over your photo to decide where to cut the picture.


Once you have decided where to cut, mark your spot, and then use the smaller piece of the lid to trace a circle onto the photo. If you traced the larger frame, your photo would be too big for the circular piece.


Once you have traced your photo, you can begin cutting out the circle. You will glue this to the lid piece, with a ribbon between for hanging.


Add glue to the top of the circular lid piece. I like Elmer's Glue All or Aleene's Tacky glue for this project, but any liquid glue would work fine.


Cut about 6 inches of ribbon and loop, gluing the end pieces down on top of the lid.


While the glue is still wet, place the photo on top of the ribbon. Let the glue set for about 1 minute.


Next, add some glue to the inner rim of the frame before placing the photo piece into the frame.


Place the photo face down inside of the frame, pressing and holding for twenty seconds.


Let the ornament dry before using it. Once the ornament is dry, you can hang it on your tree or make more and give them away as gifts!


These ornaments make fun mementos and are easy last-minute gifts for friends or family! Instead of photographs, you could also frame wrapping paper scraps or old Christmas cards. Such a cute way to recycle! I am planning to give two of these ornaments to my brothers as part of their Christmas gifts. I hope it makes them laugh! I smile just looking at this photo. That is the best present in my opinion!

Happy Holidays!

Monday, November 10, 2014

October Crafternoon

In an effort to get back on the crafting bandwagon, I decided to plan a monthly crafternoon party with my Mom. What is a crafternoon, you ask? Basically, it is an afternoon of crafting! To me, that sounded like the quickest way to get back to crafting, while surrounding myself with loved ones, and having the opportunity to eat yummy things. On the invitations I sent, I wrote: "crafts, food, fun!"


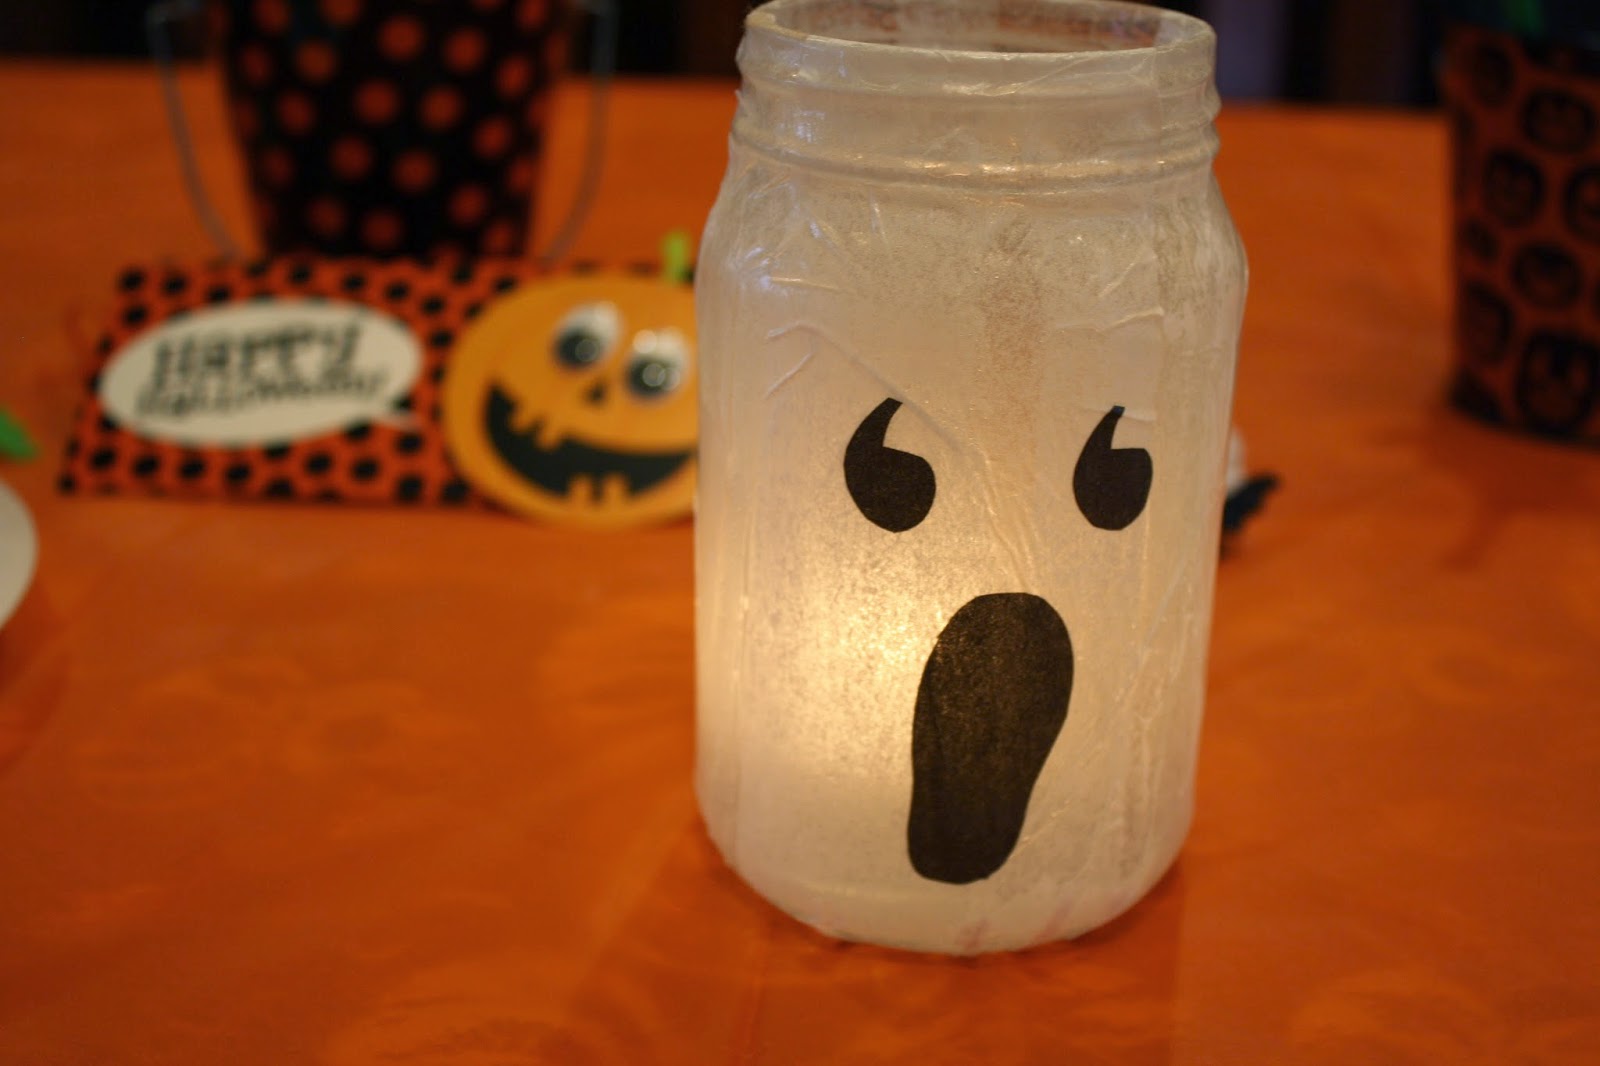
For October's crafternoon, we made easy luminaries out of mason jars. Basically you cover the outside of the mason jar with strips of colored tissue paper (using Mod Podge or glue to seal the paper) and then add a face with black tissue. After the glue is dried completely, you can place a tea light inside the jar and light it up!


I pre-cut the face shapes (eyes, noses, and mouths) for my crafternoon guests so that they could just focus on gluing. I kept the parts separate on paper plates, that way they could just grab and go!


The luminaries can be monsters, pumpkins, ghosts, vampires, witches, cats, you name it. Any Halloween character could make a fun and festive lantern!


It's important to let the glue dry completely and only put the paper on the outside of the jar, because the fumes from wet glue and any paper is flammable! I didn't have any problems once the project was completely dry, but I did have a scary moment trying to light the candle with a damp jar (Check out the burnt paper on the inside of the jar on that Frankenstein monster). Be warned! ;)


I think everyone had a lot of fun. I already have my plans for a November crafternoon set, so I will be sure to share more photos on the project and the party closer to the day!

Sunday, November 9, 2014

Colorado Trip, Part 2

Well, it took me long enough to get to part 2! Hopefully the beauty of these photos from my Colorado trip make up for my tardiness. I know I'd love to be back here right now!

My favorite stop on our trip was Lake Dillon, pictured below. It was a beautiful sunny day, with just a hint of Autumn chill in the air. Truly amazing to behold.


Unfortunately, we couldn't stay at Lake Dillon forever, but the drive back down through the mountains was beautiful, too. How do you like that camper on the hill? That was a fun shot!


We also visited a ranch in Castle Rock, Colorado and saw these cute animals!


If you ever visit Castle Rock, Colorado, I highly recommend a shopping trip to The Barn. Yes, the Outlet shopping in Castle Rock is great but The Barn is one of my favorite places to see. There are so many artists and vendors with their own booths inside, and outside they have even more to see like vintage signs and tin letters.


I also loved this display. It really was perfect for the Fall!


I hope you enjoyed seeing even more photos from my trip to Colorado! It was a wonderful trip and nice to relax with family.

Tuesday, October 14, 2014

Colorado Trip, Part 1

My Mom and I recently got back from a vacation in Colorado. We went a few years ago, but it was nice to go back for another visit. We spent most of our time in Castle Rock, which is a city south of Denver. While in Castle Rock, we visited my mom's sister, and had a lot of fun. The weather was spectacular and I was able to get so many good photos.


We also traveled to Denver to visit the Dale Chihuly exhibit at the Denver Botanic Gardens. If you don't know Chihuly, he is the famous glass sculpture artist who created the beautiful glass ceiling of the Bellagio Hotel in Las Vegas. In Denver, the sculptures added to the already charming gardens. I don't even know if there is that much more to say. Hopefully the pictures speak for themselves.


Chihuly's sculptures were so colorful and the construction for each piece was amazing. If you can get to the Denver area, I highly recommend visiting this exhibit before it closes in November. I heard from locals that they also light up the sculptures in the evenings and I bet that would've been just as beautiful!


It was nice to take a trip away after the difficult year that we have had. The beautiful art and landscapes that we saw were so restorative and it was nice to have some healing quiet time. We didn't have to work, or do housework, or do anything that we didn't want to do! It was fantastic and I am so glad that I got to spend the time with my mom.