Tuesday, March 18, 2014

Scalloped Spring Buckets


The weather may not agree, but in my mind it is time for Spring! Bring a little cheer to your desk or home with these easy painted buckets. Use alternating colors for the scalloped design. This craft is also kid-friendly!

For this project you will need:
Papier mâché bucket
Bright colored acrylic paint (like pink, yellow, or blue) and white acrylic paint
Round foam brush
Rectangle foam brush
Paper plate


Mix your paint color with a few drops of white paint to make a lighter color for the base of the bucket. A paper plate makes a good mixing palette. Paint the outside of the bucket and the handle with this lighter paint color.
After the initial coat of paint dries, touch up any necessary spots.
Allow the bucket to dry again. Then use your darker paint color to create the scalloped edge. To do this, use a round foam brush and blot polka dots next to each other around the top of the bucket. Fill in any gaps with the paint and also paint the inside of the bucket this color.


Allow the bucket to dry and then add some fun candy or colorful flowers inside. I made some cute flowers out of pipe cleaners to go inside the buckets. I was thinking of lavender and daffodils!


I hope that you enjoy this easy Spring craft. It also works for Easter!

Thursday, March 13, 2014

Luckcakes (Lucky Cupcakes for St. Patrick's Day!)


I am so happy that the first signs of Spring are finally showing! We had some 60-70 degree Fahrenheit weather temperatures recently, the daffodils outside are sprouting, and I keep seeing green for St. Patrick's Day! These lucky charm cupcakes or Luckcakes are easy to bake and make fun treats for the holiday.


You only need a few supplies for this recipe: 
Boxed white cake mix
Colorburst Batter Bits (green)
Vanilla frosting
Cupcake liners
Shamrock marshmallows (from Lucky Charms Cereal)


Prepare the cake batter using the box instructions. Mix in the green colorburst batter bits. I found these in the grocery store, but you could probably find them at baking stores or specialty craft stores as well.


Line your cupcake trays with the paper cupcake liners. Fill the cups a little over halfway. Bake as directed on the box, and allow to cool. Add the vanilla frosting and shamrock marshmallows last.


These cute cupcakes are a visual delight! The Lucky Charms marshmallows are a whimsical topping, and the green batter bits make for a special surprise inside.


With these cupcakes, you'll get kissed and not pinched! Happy St. Patrick's Day!

Wednesday, March 12, 2014

Video: Handmade Ring Dish


My latest project for WDRB in the Morning was this handmade ring dish made from air dry clay. It is easy to customize using rubber stamps and paint. Use the dish for jewelry, coins, odds and ends. If you would like to see them, here are the full instructions for this project.

I am a regular guest on WDRB in the Morning, sharing craft projects and ideas every other Wednesday. My next appearance will be on Wednesday, March 19. To see more craft projects, check out my YouTube channel or follow me on Facebook.

Tuesday, March 4, 2014

Handmade Clay Ring Dish


Want a fun project to chase away the winter blues? Try this handmade ring dish, made from clay. It's easy to create and brightens any dresser or counter top. 


All you need for this project is some air-dry clay and a rubber stamp or tool to press a pattern into the clay. 


Open the package of air-dry clay and roll it out into a thin layer with a rolling pin or round cylinder. 
Using a small bowl, cut a round shape out of the clay.


Once you have a round shape, use your rubber stamp or tool to make impressions in the clay. I used an initial letter stamp and a wooden dowel rod to create polka dots in the clay.


Once you have finished decorating the clay circle, place it into a bowl to mold the ring dish shape. 


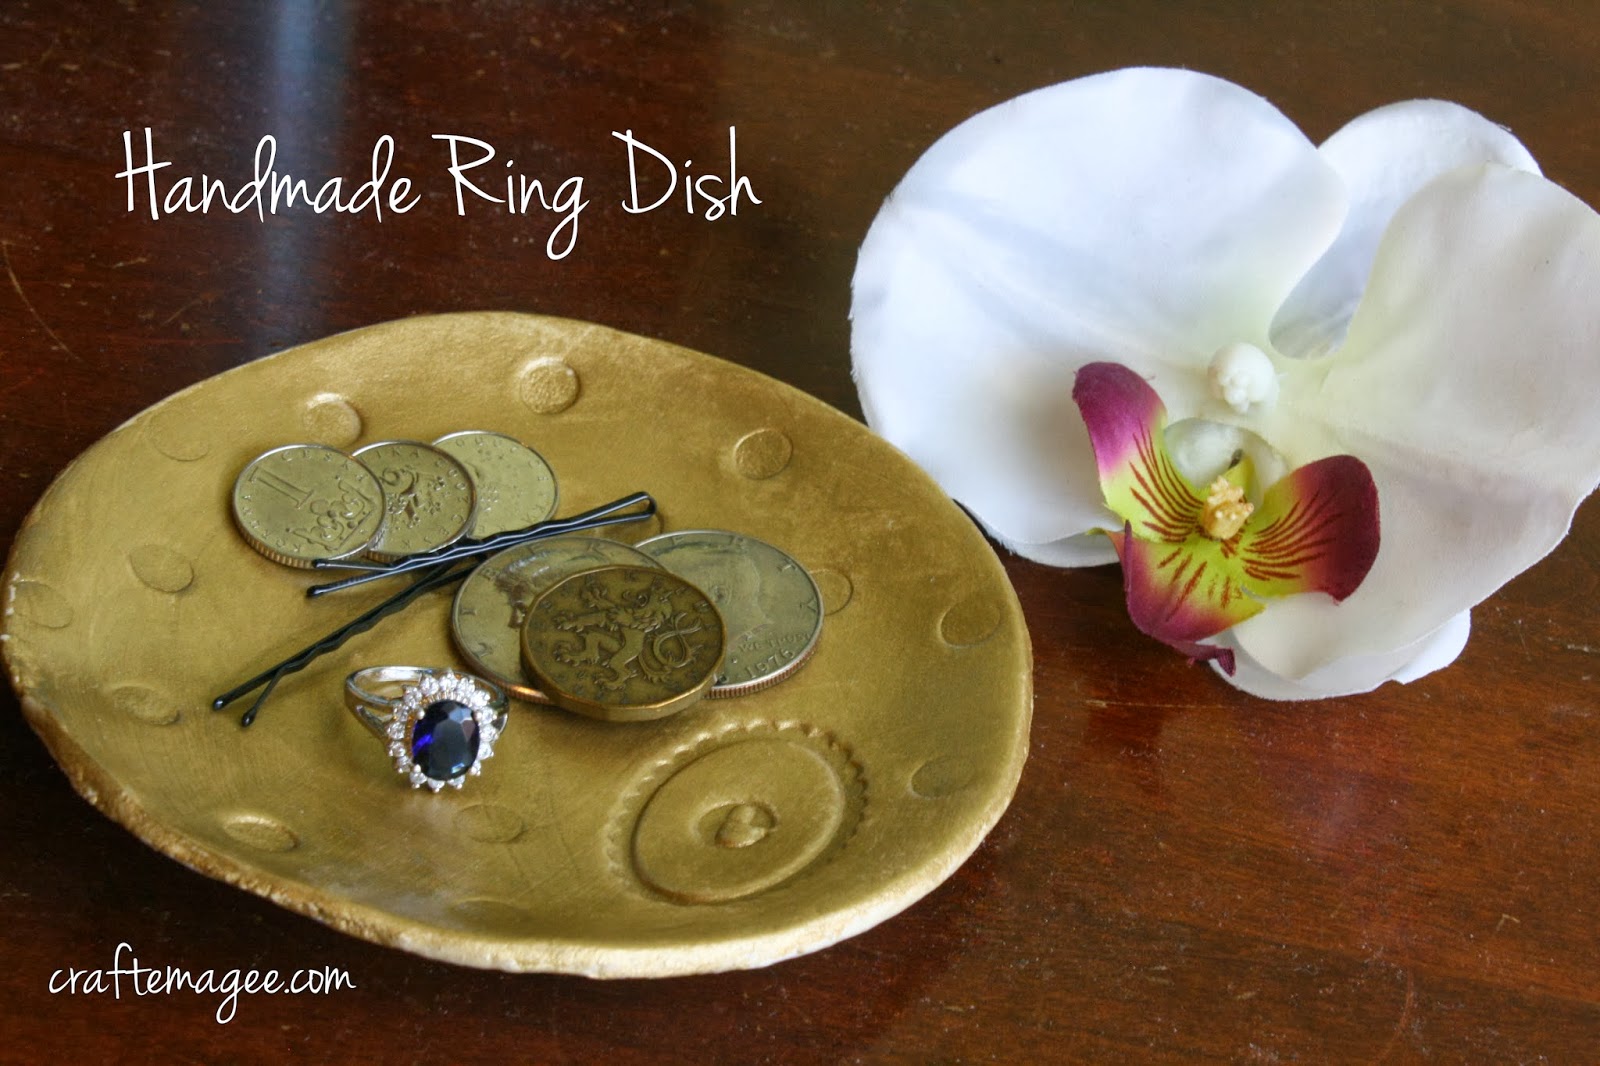
When the clay dries (24-48 hours) it will hold its dish shape. You can then paint the dish. I used a metallic gold paint. This is optional, but it is recommended that you do seal the clay dish even if you do not choose to paint it. I used matte mod podge glue to seal the project. It dries quickly and strengthens the dish.


This handmade ring dish can hold jewelry, coins, hair pins, or any of those odds and ends on your dresser or vanity. You could make the dish any size or color to fit with your decor.


This project is easy to personalize and makes a great handmade gift. Something to remember when Mother's Day rolls around!