Showing posts with label kentuckyderby. Show all posts

Thursday, January 10, 2019

Kentucky State String Art

A few years ago I was able to do a community craft at BlockParty Handmade in downtown Louisville. The craft that we made was Kentucky state string art. We were lined up on the sidewalk with our hammers and nails, crafting away. It was so much fun that I wanted to share a tutorial on how to make this easy project. 


What you will need:
1 wooden board (from craft store or hardware store)
1 small box of nails
String in the color of your choice (should contrast in color to your background wooden board)
1 hammer
1 computer print out of your state shape (in this case, Kentucky)
tweezers (optional)


Start by selecting a surface to hammer on that won't cause any damage. Here, I've chosen a tile counter top but places a piece of cardboard between the surface and the wooden board to protect the counter.

Next, take your print out and begin to hammer nails along the outline of the state's shape.


Continue hammering around the outline until you are satisfied with the shape.


Slowly tear away the paper from the nails. (Tweezers can help pull out stubborn pieces of paper if needed.)


Once all the paper is removed, you are left with your state shape!


Now for the really fun part! Get comfortable on a couch watching your favorite show, and go to town running your string through the nails. Start by tying off a piece of the string to one nail and then tightly wind the string in a random way around the nails to create your string art.


Your string art can be woven through the nails as thick or thin as you like, it's up to you! 

When you are finished, tie off the string on one nail and clip the string from the spool leaving a tail. Weave the tail ends of the string through the string art (try the tweezers again if you need help).


Now you are finished! Look at the beautiful project that you created!


Feeling stressed in the New Year already? Try this satisfying project and hammer your frustrations away!


The Kentucky state string art piece can be displayed on a shelf or mounted to a wall. No matter how you display it, you can proudly tell everyone that you made it by yourself!

Saturday, April 25, 2015

Mint Julep Brownies


The Kentucky Derby is one week away! This is an exciting time in the city of Louisville, from the Balloon Glow and Race to the Pegasus Parade to Oaks Day on Friday and the Kentucky Derby on Saturday. It's quite the celebration, and what's the best thing about a celebration? Delicious desserts of course!
Thus the creation of Mint Julep Brownies! I was inspired by my friend Jamie, who came up with this idea. The Mint Julep is the official drink of the Kentucky Derby, so it's only fitting to use the flavor combination of mint and bourbon in a chocolate-y dessert. 

This recipe is so simple, because you only need a few ingredients: 
1/4 cup of Bourbon
1 box of Brownie mix (and the ingredients required to make the brownies)
1 box of Andes Mint Chocolates


The first step is to unwrap each chocolate Andes mint and cut the chocolates into smaller chunks.


Next, mix the brownies according to the package instructions.


After the brownie mix is ready, add 1/4 cup of Bourbon to the batter.


Finally, add only half of the Andes mints to the brownie batter and stir.


Pour the batter into a baking dish (9x9 or 9x13 is fine) and then add the second half of the Andes mints to the top of the brownie batter.


Bake the brownies according to package instructions and allow to cool, if you have the patience!


 A great tip for cutting brownies is to use a plastic knife. It makes it much easier!  


This is probably the first time that a Kentucky Derby glass has held milk instead of a Mint Julep, but you can get your mint and Bourbon flavor fix in these yummy brownies. The Mint Julep brownies taste WAY better than the Mint Julep drink anyway, trust me!

I hope you enjoyed this easy recipe and that you have a great Derby week! Click here to check out more of my Kentucky Derby Festival recipes and crafts.

Friday, May 3, 2013

Mini Pies for the Kentucky Derby!

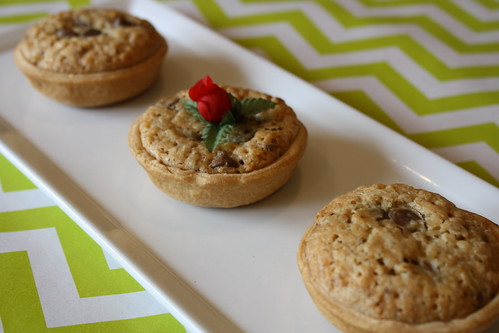
Derby is only 1 day away! My final Kentucky Derby Festival craft to share is an easy and delicious recipe for Mini Pies! 
IMG_1102
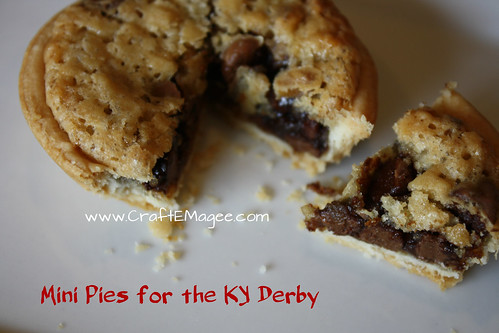
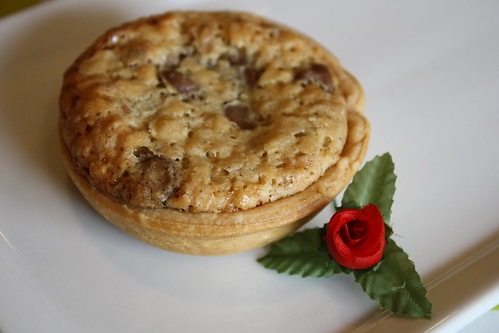
These chocolate and walnut pies are a staple for Derby parties. Usually you would make this pie in a 9 inch pie pan, but I have made them in mini form to add extra cuteness!

Mini Pies

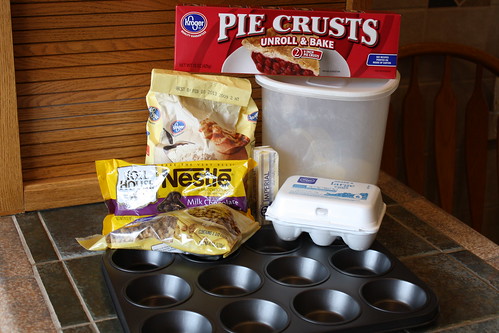
For the Mini Pies for the KY Derby, you will need:
2 rolled pie crusts
1 teaspoon of Vanilla extract
1/2 cup of Flour
1 cup of Sugar
1 Stick of Margarine or Butter (melted and cooled)
2 Large eggs, slightly beaten
1 small package of chocolate chips
1 cup of chopped walnuts
A muffin pan or cupcake pan
Makes 22 pies.
Bake for 30 minutes at 325 degrees Fahrenheit.

IMG_0999 
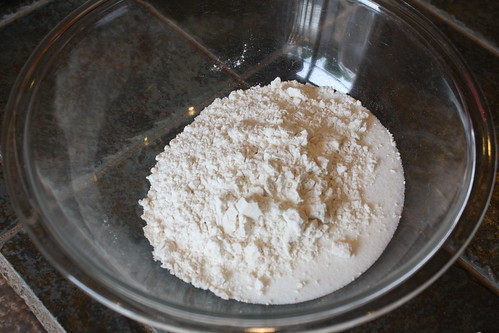
First, mix the "dry" ingredients (flour and sugar) in a large bowl.

IMG_1002

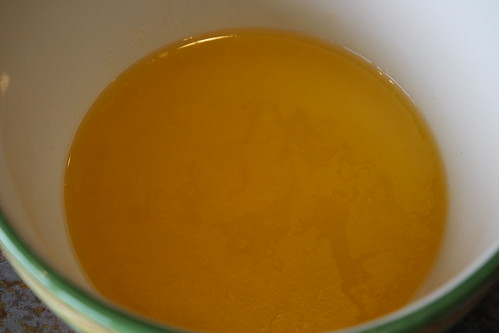
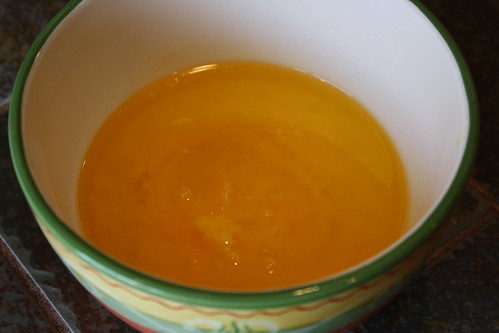
In a separate bowl, melt the butter and let cool.

IMG_1004

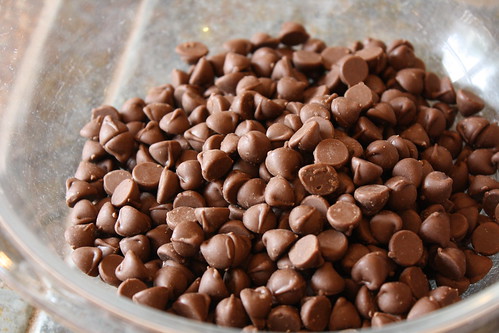
In a third bowl, mix the chocolate chips...

IMG_1009

...with the walnuts.

IMG_1012

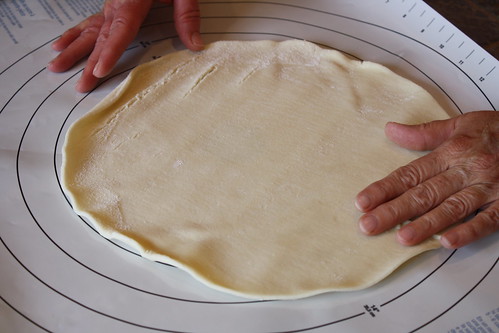
Unroll your pie crusts on a non-stick surface.

IMG_1016

Using a small bowl a little larger than the cupcake or muffin tin openings, cut out the round pie crusts that will become the pie shell for each mini pie.

IMG_1018

The 2 pie crusts will make about 22 pie shells (you will have to take the excess pieces and roll out again using a rolling pin to cut more circles).

IMG_1019

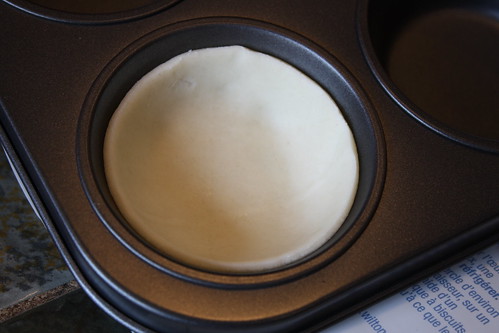
Take the 22 circles and push them down into the muffin pan. I used a non-stick pan. If you are not using a non-stick pan, be sure to grease the edges and bottom before putting the crust in.

IMG_1021

Once the butter has cooled, add the slightly beaten eggs to the butter and whisk. If the butter was not cooled it would cook your eggs!
IMG_1030 
Add the butter and egg mixture to the sugar and flour and whisk. This creates a somewhat thick, somewhat liquid mixture. Add the teaspoon of vanilla at this stage and whisk again.

IMG_1040 
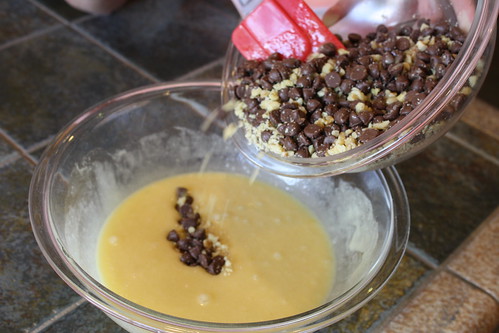
Add the chocolate chips and walnuts last.

IMG_1041 
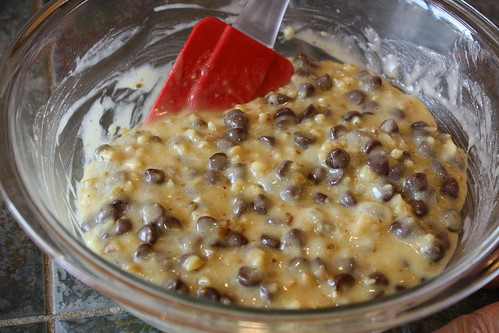
Stir up the entire mixture.
IMG_1049
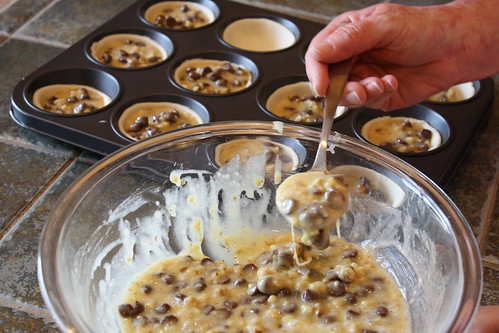
Now you are ready to spoon the mixture into the pie shells!

IMG_1051 
Because I made 22 pies, I filled up almost 2 full cupcake or muffin pans.

IMG_1063 
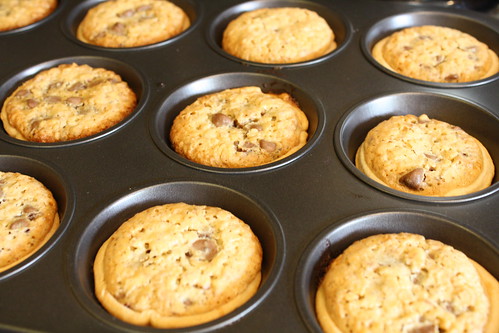
Now you will bake the mini pies at 325 degrees Fahrenheit for 30 minutes. When done, they should be a nice golden brown.

IMG_1069 
All that is left now is to serve the mini pies and eat them! Enjoy!

IMG_1081
Your Derby party guests will thank you for these delicious little treats! If you want to make a regular size pie, follow the directions the same with one alteration. Bake your pie in a 9 inch pie pan for 60 minutes at 325 degrees Fahrenheit.

Thursday, May 2, 2013

Kentucky Derby Craft: Derby Door Decoration

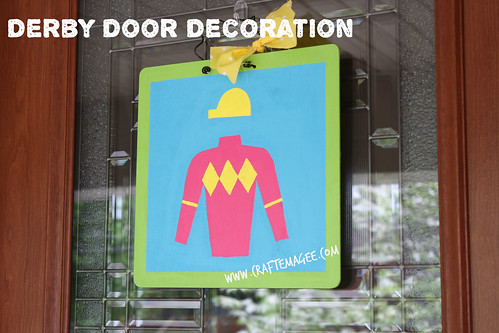
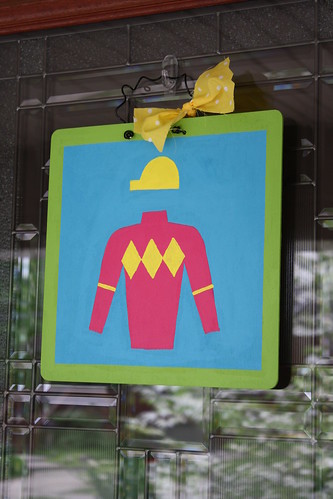
The Kentucky Derby is 2 days away! The city of Louisville is filling with excitement and anticipation. I'm happy to share another Derby craft with you today. This Derby Door Decoration would be a great addition to your home or Derby party and it is pretty simple to make!

Derby Door Sign

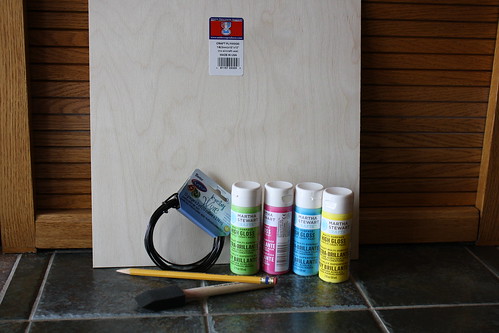
For this craft, you will need:
One 12 x 12 plywood board
Jewelry wire (aluminum, 12 gauge)
Wire cutters/pliers
High-gloss acrylic paints
Pencil
Foam brush
Drill to put 2 holes in board
Power sander to round edges of board (optional)
Jockey silk and hat pattern (download and print at 8.5 x 11)
IMG_0847

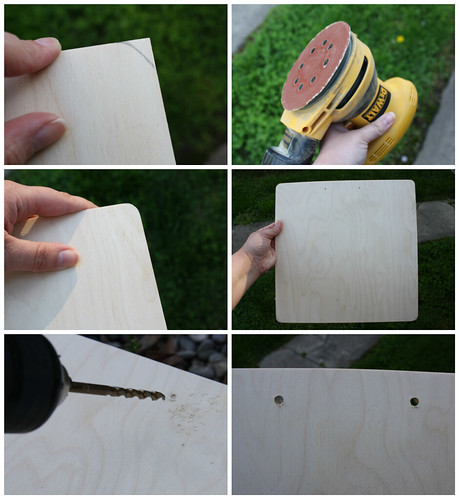
First take the piece of square plywood outside. If you want, you can round the corners by using sand paper (a hand-held powered sander is the best)! After that, mark the place for two holes with a pencil. Using a drill, create the holes in the place. This will be the place you later add the wire to hang the sign. Shake off the dust.

collage derby sign

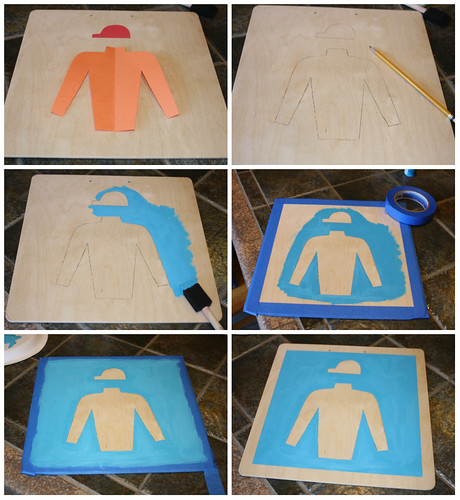
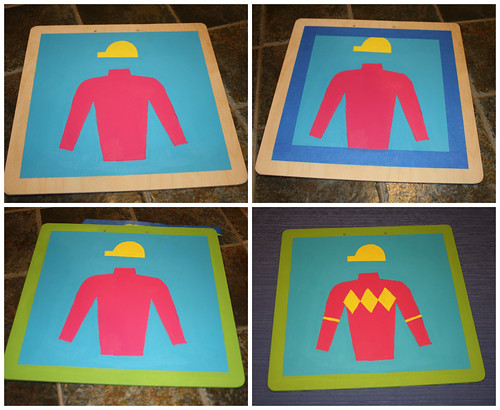
Take the sign back in the house to paint it. Trace the jockey silk and hat pattern on the board and start to paint the background. Tape off the edges with painting tape (optional) if you want the edges to be a different color. The trick to getting a smooth line is to paint over the edges of the tape, and then remove the tape while the paint is still a little wet. If you try to remove the tape after the paint has dried, it is very difficult.

collage derby sign 2
 
Fill in the jockey silk and hat with different color paints. I used yellow and pink. Tape the edges of the blue square so that you can paint the green edge or frame around the background. Add a decoration to your jockey silk! I chose yellow diamonds and stripes, but you could add polka dots, a fleur de lis, or any other pattern to make your Kentucky Derby craft more festive.

collage derby sign 3

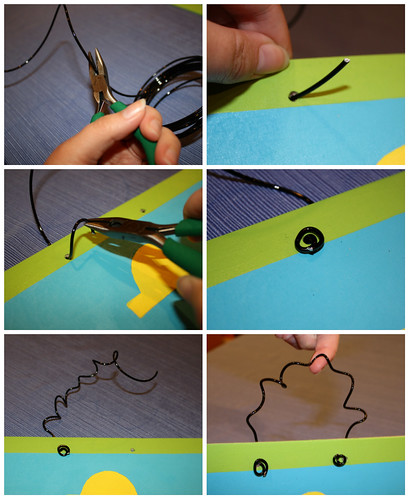
Once all the paint has dried, it is time to add the hanging wire! Cut an 9 or 10 inch long piece of your jewelry wire. Stick one end through the first hole and bend the wire into a large circle or curly-q (be sure it is larger than the hole, so the wire won't slip out). Using your fingers, "curl" the wire around and around and then stick the other end into the second hole. Bend the wire on this side into another circle to secure in place.

collage derby sign 4

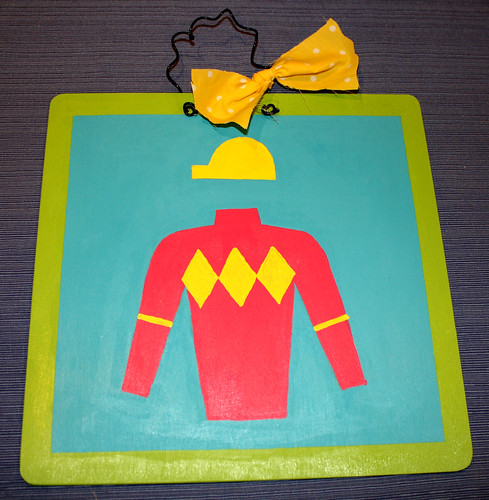
As a final touch, I took a rectangular piece of yellow polka-dotted fabric and tied a bow to the hanging wire. I did not cut straight lines, or finish the edges of the fabric, because I like the frayed look on this sign.

 derby sign

Now you are ready to hang your beautiful jockey silk sign for the Kentucky Derby. Use it as a Derby Door Decoration, or at your Derby party and all the guests will ask where you got it. I hope you have enjoyed another Kentucky Derby craft by Craft E Magee.

IMG_0975

I would love to see what you come up with! Drop a link in my comments section if you have made any of the crafts, or post the photo to my facebook page at www.facebook.com/craftemagee!