Sunday, July 5, 2015

Tying the knot!


2015 is turning into an amazing year for us because J and I are engaged and moving into a new home! You can expect to see a lot more home decorating projects on here soon as we are preparing to paint and install new flooring before we move. 

We haven't set a date for our wedding yet, but I'm so glad to be taking this next step after seven years of dating! I suppose there may be some crafty wedding projects on here now, too!

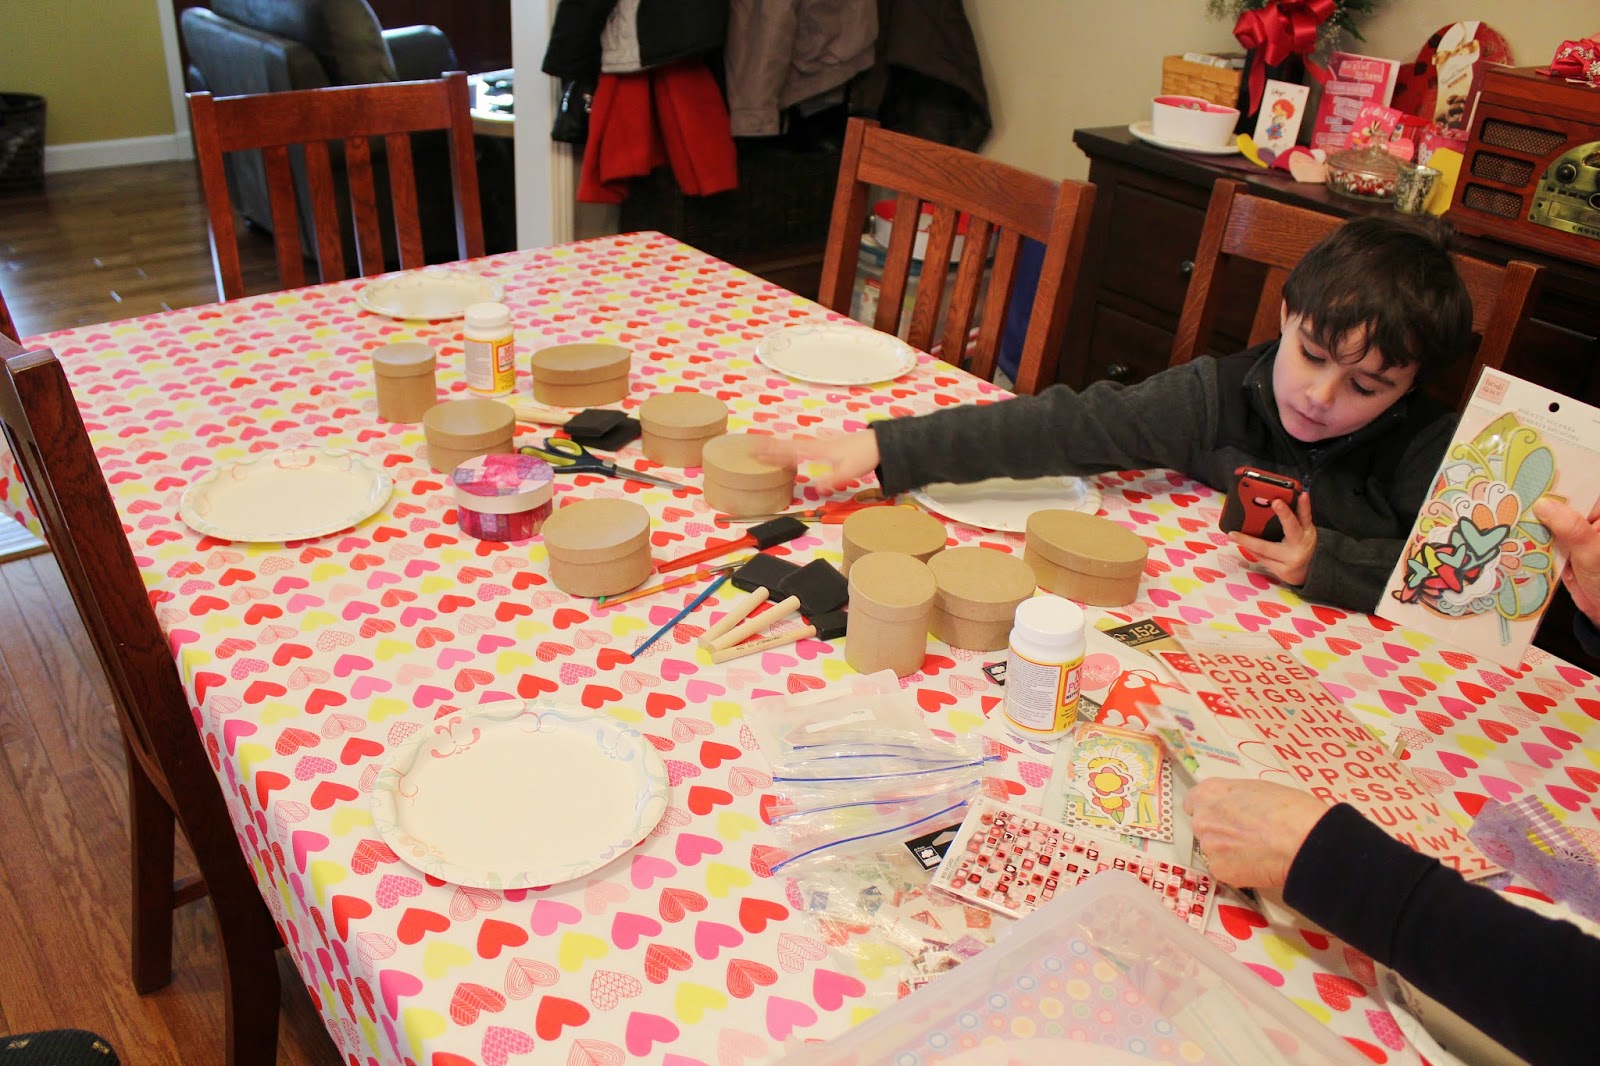
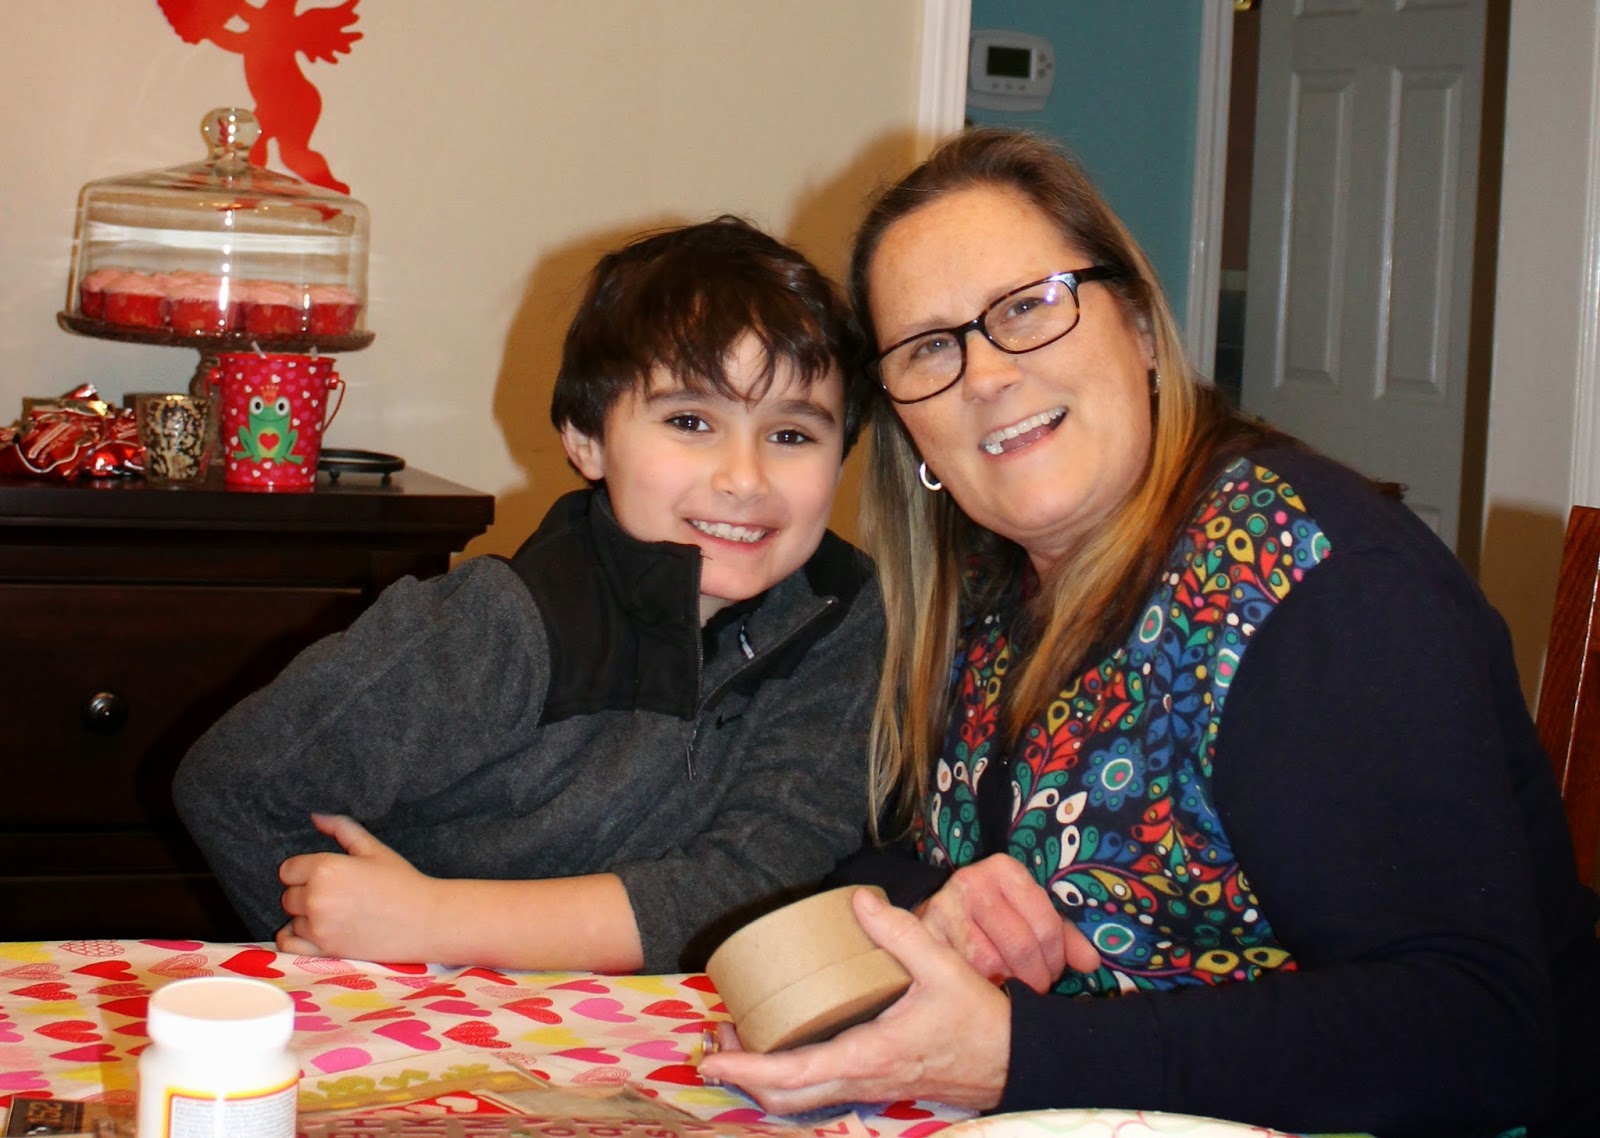
Summer has been going pretty well. Full of a lot of excitement with our new home and engagement, but also some snafus, like my nephew getting his first stitches in the emergency room! He celebrates his 8th birthday this month, which I can't believe. Time really does fly! 


It's been a good summer for movies. I took my nephew to see "The Avengers," "Jurassic World," and "Inside Out." My favorite was definitely "Inside Out." I had such an emotional response (like when I saw the movie "Up") but it had such a great message that ALL of the emotions are important. I think kids and adults could use that message.


In other news, I'm up to book 23 on my reading challenge. I hope to have read 40 books by the end of the year. The last book I read was "All the Light We Cannot See" by Anthony Doerr and it was really good. I definitely recommend it. It was one of the most interesting books I have read all year.

I hope to be getting back to blogging regularly, because I miss it! Happy Summer!

Saturday, April 25, 2015

Mint Julep Brownies


The Kentucky Derby is one week away! This is an exciting time in the city of Louisville, from the Balloon Glow and Race to the Pegasus Parade to Oaks Day on Friday and the Kentucky Derby on Saturday. It's quite the celebration, and what's the best thing about a celebration? Delicious desserts of course!

Thus the creation of Mint Julep Brownies! I was inspired by my friend Jamie, who came up with this idea. The Mint Julep is the official drink of the Kentucky Derby, so it's only fitting to use the flavor combination of mint and bourbon in a chocolate-y dessert. 

This recipe is so simple, because you only need a few ingredients: 
1/4 cup of Bourbon
1 box of Brownie mix (and the ingredients required to make the brownies)
1 box of Andes Mint Chocolates


The first step is to unwrap each chocolate Andes mint and cut the chocolates into smaller chunks.


Next, mix the brownies according to the package instructions.


After the brownie mix is ready, add 1/4 cup of Bourbon to the batter.


Finally, add only half of the Andes mints to the brownie batter and stir.


Pour the batter into a baking dish (9x9 or 9x13 is fine) and then add the second half of the Andes mints to the top of the brownie batter.


Bake the brownies according to package instructions and allow to cool, if you have the patience!


 A great tip for cutting brownies is to use a plastic knife. It makes it much easier!  


This is probably the first time that a Kentucky Derby glass has held milk instead of a Mint Julep, but you can get your mint and Bourbon flavor fix in these yummy brownies. The Mint Julep brownies taste WAY better than the Mint Julep drink anyway, trust me!

I hope you enjoyed this easy recipe and that you have a great Derby week! Click here to check out more of my Kentucky Derby Festival recipes and crafts.

Wednesday, February 18, 2015

February Crafternoon

February crafternoon was held right before we got all the snow in Louisville. Good thing, or it would have been a very lonely party! I decided that our project would be to decorate cardboard boxes with decoupage. It was very easy, and didn't require me to buy a bunch of supplies. I already had a lot of paper, stickers, and glue, and just needed to get some cardboard boxes.

My nephew, the expert in multi-tasking, selected his box while doing research on his iphone. Haha!


This kid cracks me up.


To make the decoupage boxes, simply brush glue onto the paper box with a sponge brush, apply strips of paper, and brush on more glue over the paper. My favorite glue to use is Mod Podge because it's so easy to dip a brush in the container and the glue is the perfect consistency for this project. Continue to add stickers or decorative elements onto your box until satisfied. Give the box one final coat of glue and allow to dry. Remember not to place the lid on the box until both sides have dried! Otherwise your lid will be glued to the box.

We used scrapbook stickers, stamps, and different papers on our boxes. Use what you have. Trust me, I know a little something about a supply stash! This was a great project and I think that everyone was pleased with their finished boxes! Some people even made two of them!


One of my favorite things about hosting these crafternoon parties, besides having a good time with family and friends, is seeing how different the finished results can be! With the sames supplies, my friends and family members make totally different designs. It's amazing! Here are some photos of the finished boxes:


Now it's time to get planning for March crafternoon!

Tuesday, February 17, 2015

Snowed In!

By Valentine's Day, I'm ready for Spring. Unfortunately for me, this week just so happened to be the first time in years that we've gotten a major snowfall! Darn it! Snow is certainly pretty, but no fun when you have to travel. I spent about an hour digging my car out, only to find a flat tire underneath! My little car isn't exactly good for snow driving, but since I've missed two days of work already, I'll have to suck it up and go in tomorrow. Freezing temperatures or not!

Even though we've been snowed in, I did take the opportunity to walk around a cemetery near our house with the new camera I got for Christmas. I especially love the zoom lens that enabled me to get a shot of a woodpecker that was at the very top of a tree!


I know that the snow storm has affected a lot of areas around the U.S. so stay warm everyone! This is the perfect weather for a blanket, some hot cocoa, and Netflix!

Saturday, January 24, 2015

January Crafternoon

Happy 2015!


I'm really into Pinterest, especially when it comes to finding ideas for the crafternoon parties that I've been hosting. For the January crafternoon project I was inspired by the Christmas Rag Wreath Tutorial by Kristen of Kiki Verde

Instead of using a wreath form like she did, I decided to take wire hangers and bend them into circular shapes for guests to tie their fabric strips on. We also didn't have any pinking shears, so our fabric strips had straight sides. I think they turned out great anyway. It was a small group, but we had lots of fun!


I have soooooo much fabric. I have been sewing since I was in high school and love picking out fabric, so I have collected a bunch of different fabrics for well over ten years. It's been a problem! This craft project was a way for me to share my fun fabrics with my family and let them use up my stash! I piled fabrics by similar color and design and let our guests have at it.


The kiddos got in on the action, too! 


Here are my sister-in-law and cousin's wreaths in progress. This really was super simple to cut fabric strips and tie them onto hangers. Plus, you can use the top of the hanger for hanging your wreath!


I opted to go with green fabrics for my wreath. I was able to use up some St. Patrick's Day fabric, as well as some pretty fabric with a metallic design that looked like origami paper. 


My sister-in-law and Mom both chose to make Valentine's Day wreaths using pinks and reds. 


February's crafternoon is scheduled for after Valentine's Day, so I'm on the hunt for good craft projects. Feel free to share your ideas in the comments section.