Usually after the December holidays, and all of the crafting opportunities that season provides, I find myself in a January slump. I'm never sure what to do with the cold weather, although being stuck indoors is really the perfect time for crafting! I decided to embrace winter with this next craft, and make a frosty floral crown.
I was inspired by some faux Lamb's ear leaves at the craft store, and grabbed some pretty white flowers and glitter leaves in the same section.
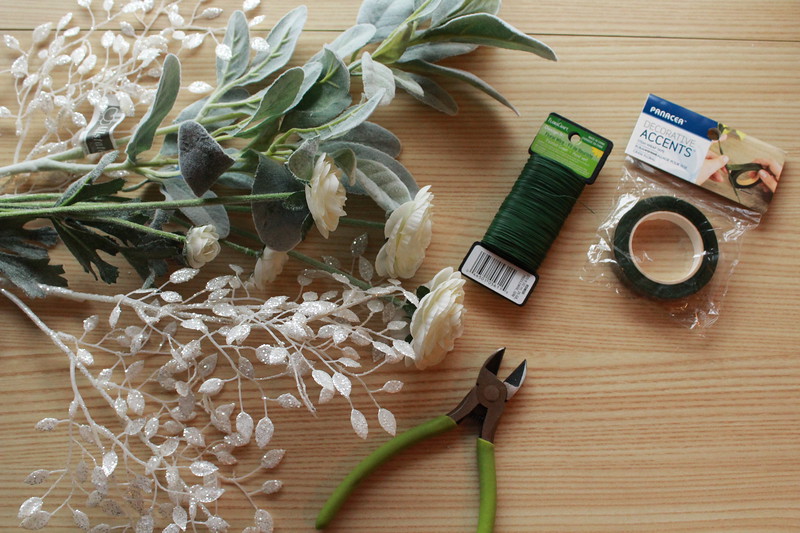
This is a pretty easy craft because the only things you need are:
- faux flowers and leaves
- floral wire
- floral tape
- wirecutters
- piece of string to measure head size (optional)
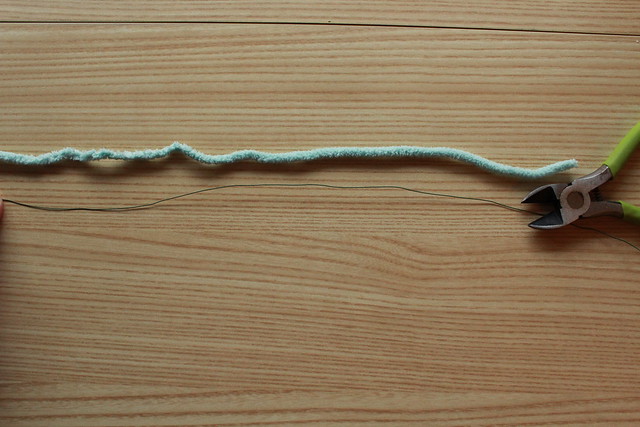
1. Measure your head with a piece of string, pulling taut, and cut to length.
2. Cut a length of floral wire the same length as the string, plus a bit more wire to twist tie together.
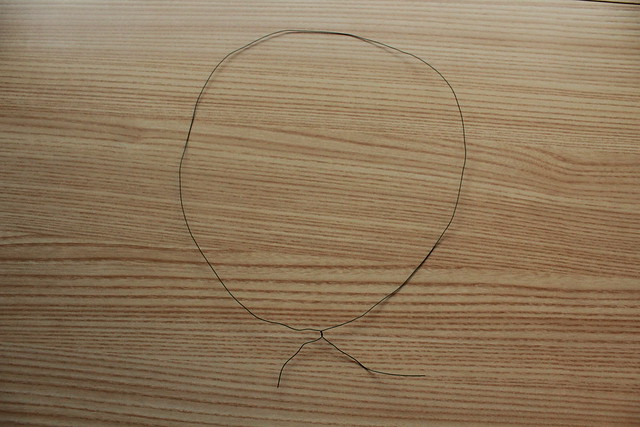
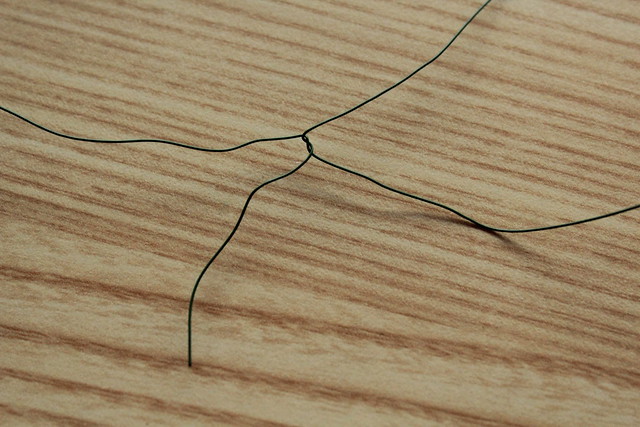
3. Make circle shape with floral wire and twist tie ends together, wrapping wire until no loose pieces remain.
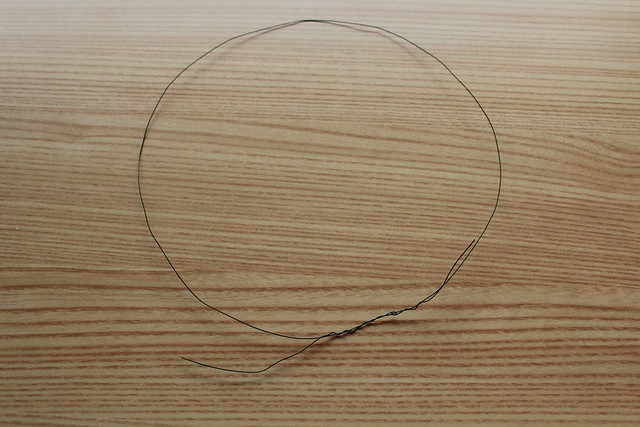
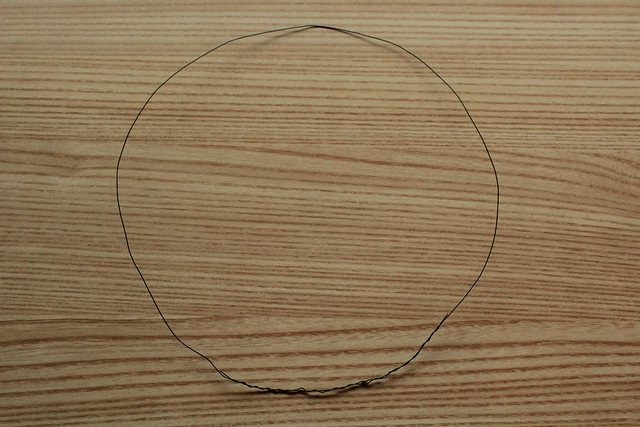
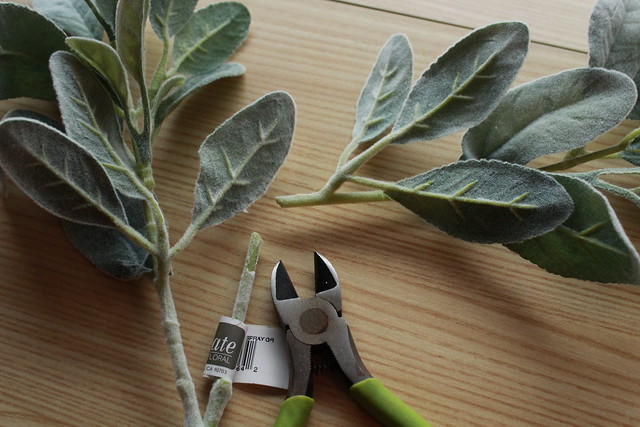
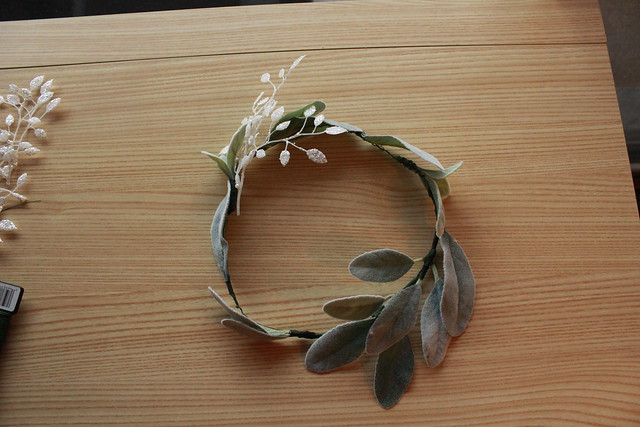
4. Clip Lamb's ear leaves into smaller sections, leaving some groups, and some single leaves.
5. Using floral wire, attach leaves to "crown" piece.
6. Once you've wired some leaves to the crown, wrap that with floral tape to secure leaves. Hot glue is optional, but I stuck with just wire and tape for my floral crown. I didn't want the hot glue "webs" to mess up my flowers or leaves.
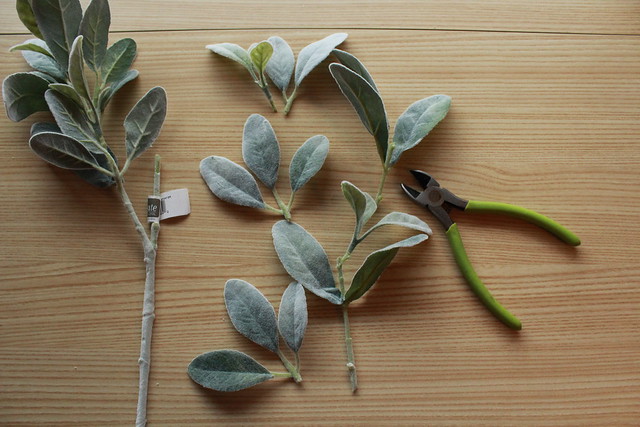
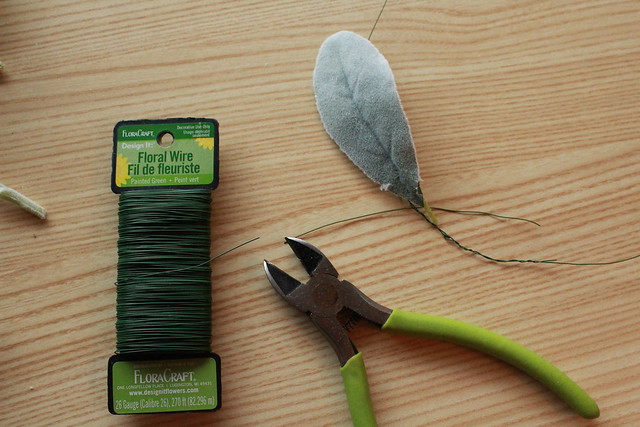
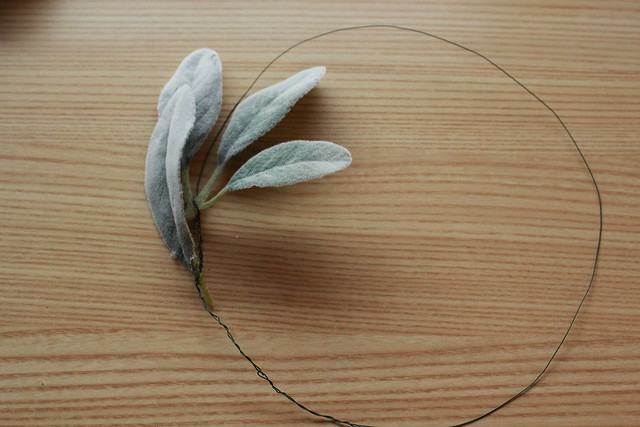
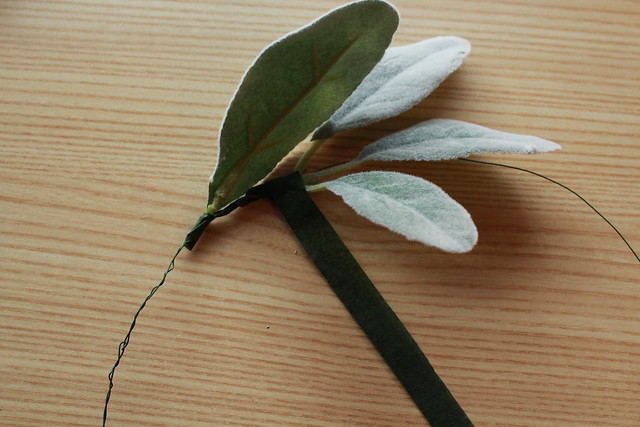
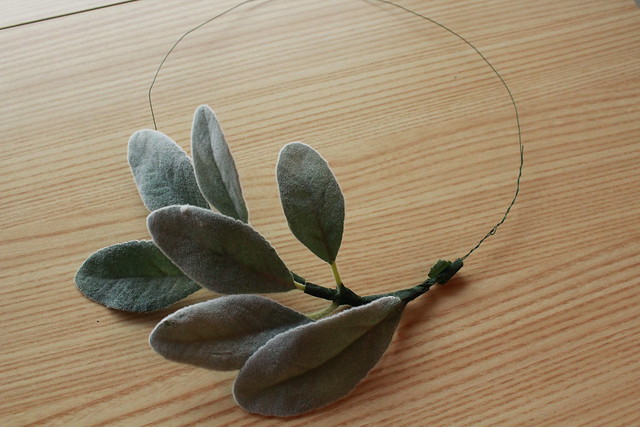
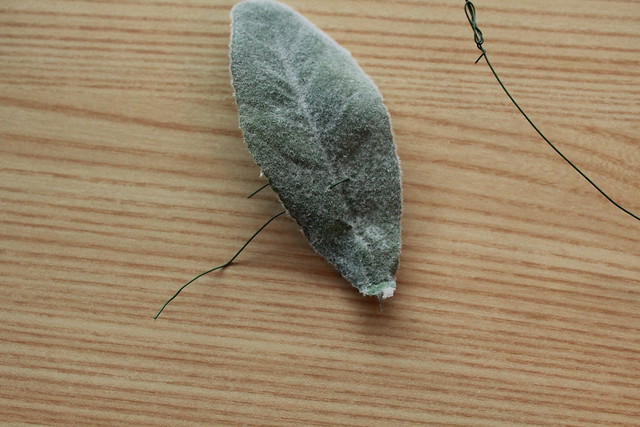
7. Some leaves should be secured at the ends and others in the middle to keep the natural look of the leaves around the crown. If all the leaves were sticking out (secured at ends) or flush to crown (secured in the middle), the crown would loose the natural look we are going for.
8. Continue adding leaves around the crown, leaving some gaps for your other florals.
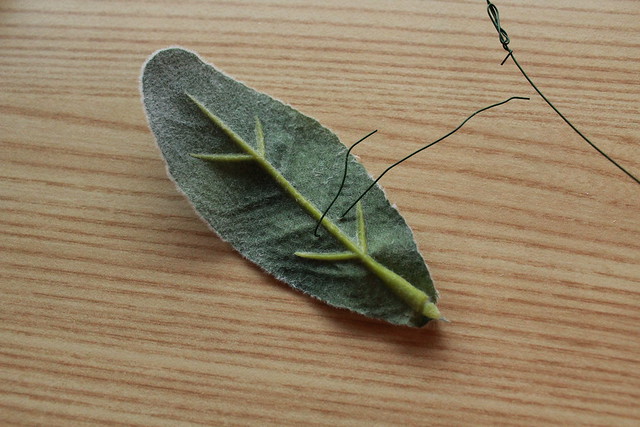
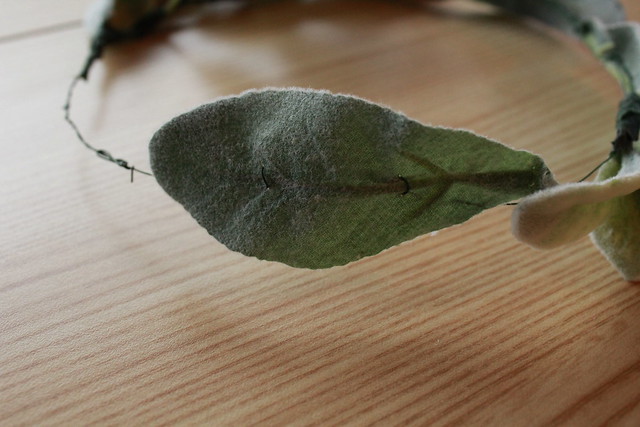
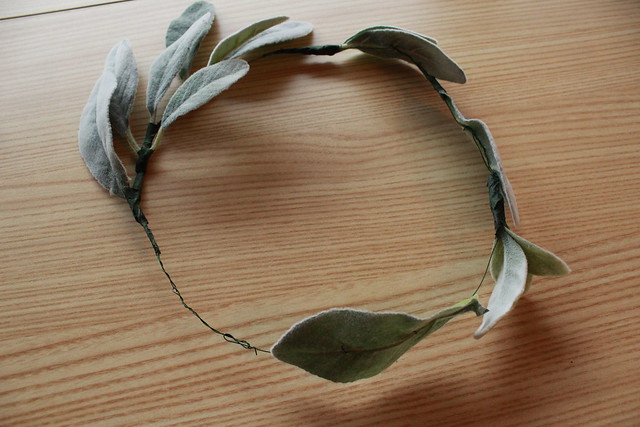
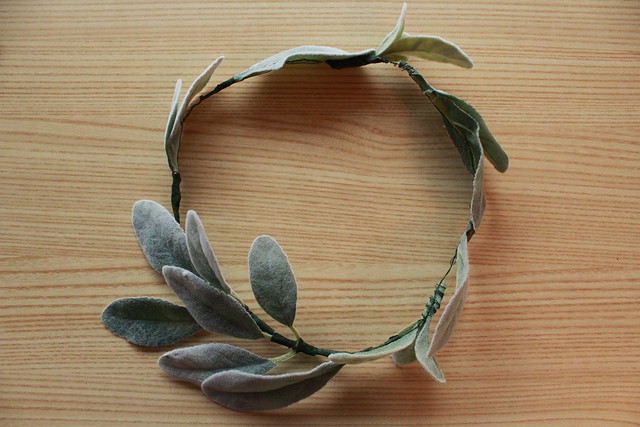
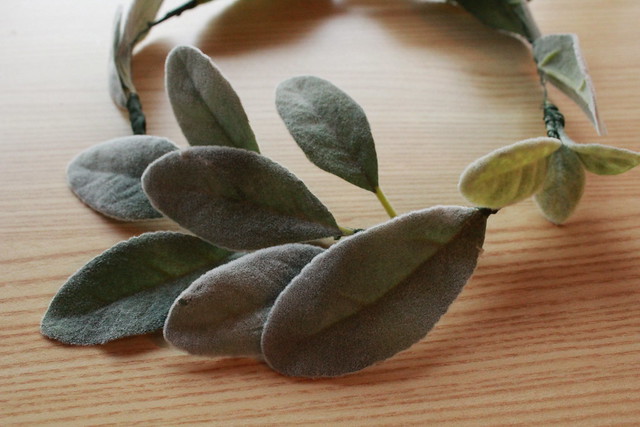
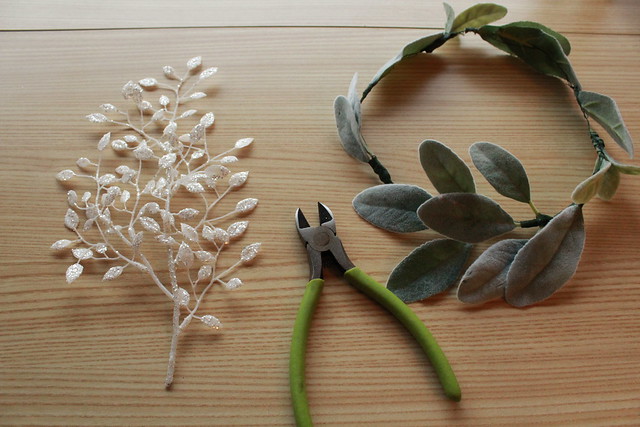
9. After I was satisfied with the number of Lamb's Ear leaves on the crown, I switched to the white plastic glitter leaves. As with the Lamb's Ear leaves, secure some pieces at the end and some pieces in the middle. This allows the pieces to stick out or stay flush with the crown, depending on how you choose to secure them.
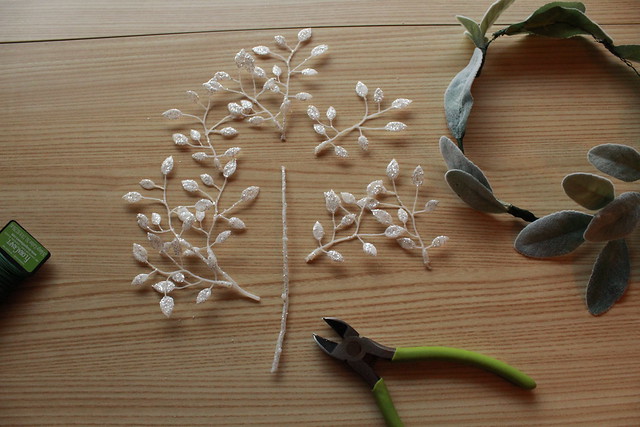
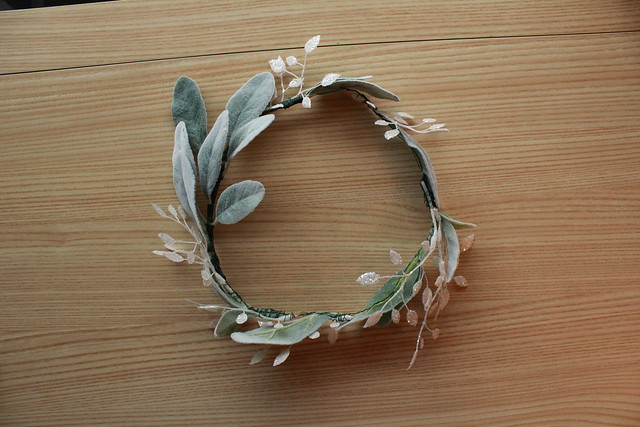
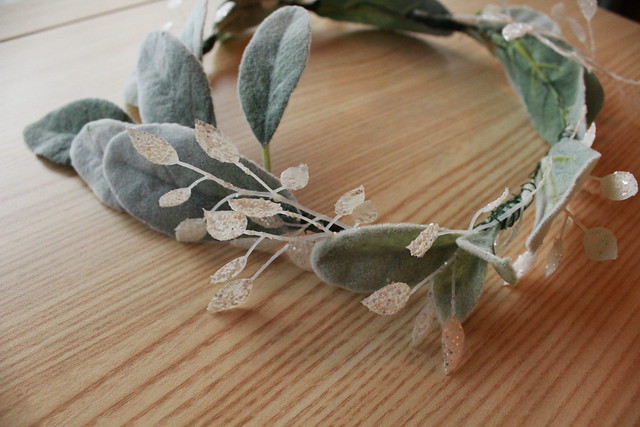
10. Once you've added all of the white glitter leaves, it's time for the flowers!
11. To make it easier to secure the flowers to my crown, I folded the stems to be flat or flush with the flower. That way, I could wire the stem to the crown without the flower sticking out too much.
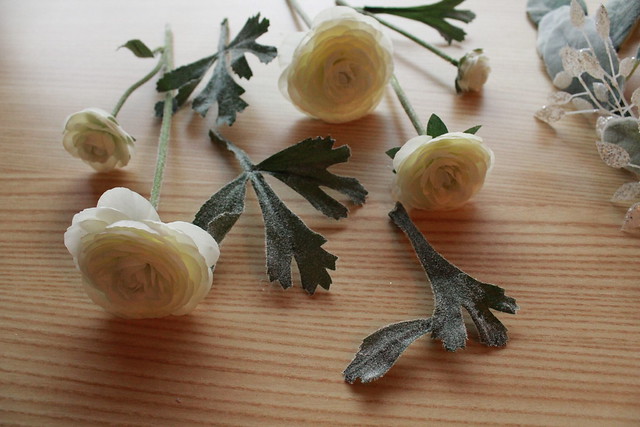
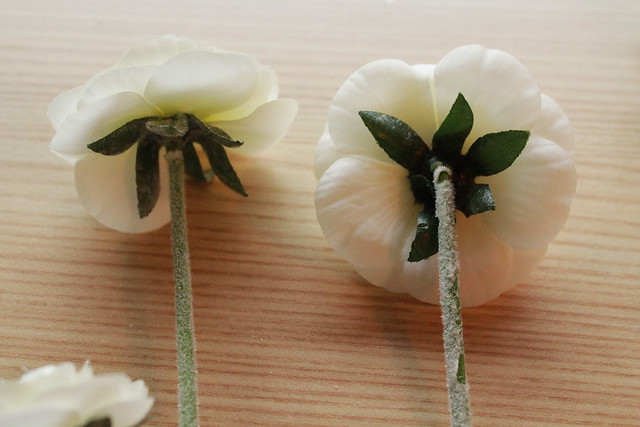
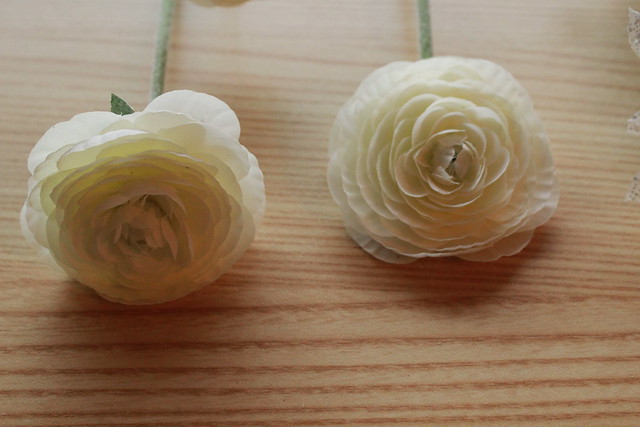
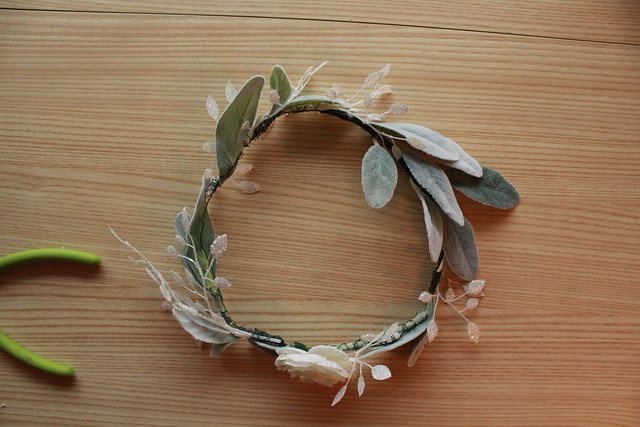
12. Now is a good time to decide where the front of your crown is. Go to a mirror and decide which part of the crown best flatters your face. Once you know which part is the front, decide if you want to place all the flowers at the front, or back, or spread them around the crown. I chose to spread my flowers out.
13. You can also use the leaves from the flowers to add some more texture to your floral crown. I did this with my crown.
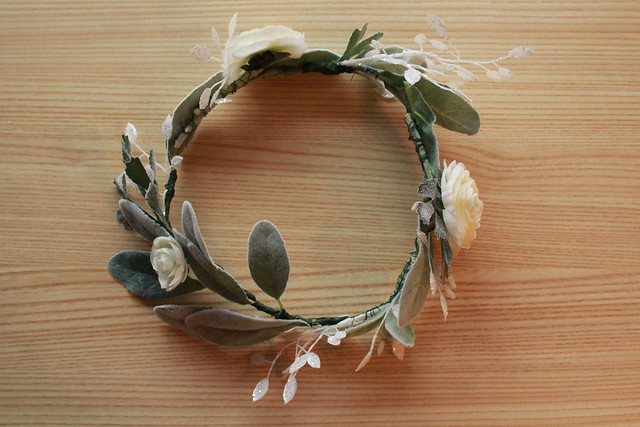
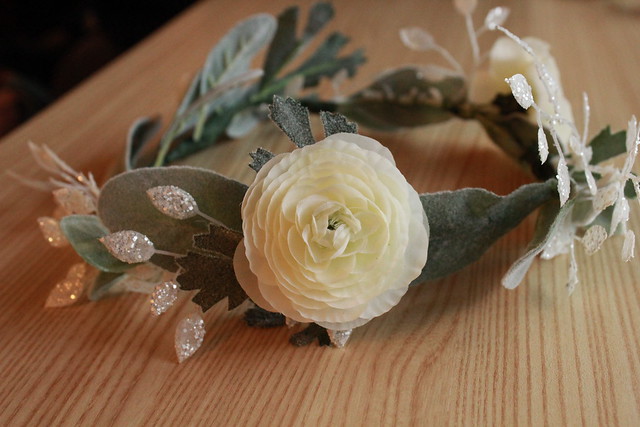
14. After securing the pieces with floral wire, remember to add floral tape to make everything extra secure. Again, you could use hot glue if you wanted to, but hot glue can easily pop off and the strings of glue sometimes create webs on your craft that you have to clear away.
15. Admire your work! Channel your inner winter mystic and wear your floral crown with pride!
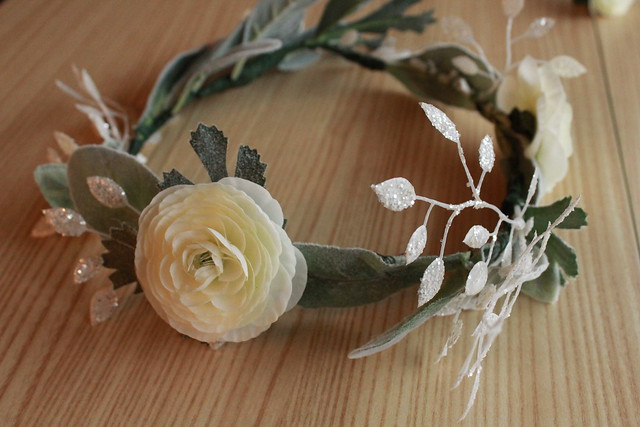
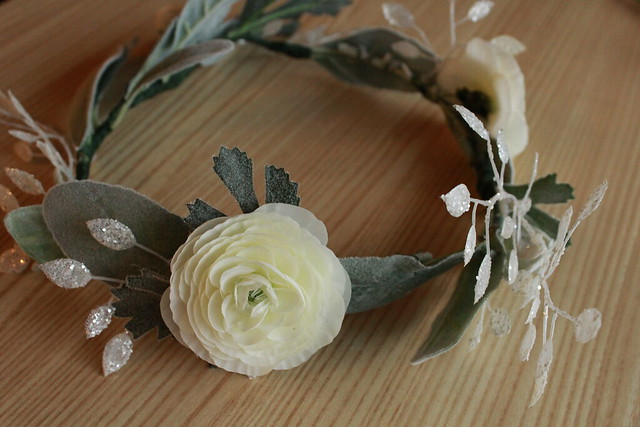
I hope you enjoyed this easy craft project and that you can use it to brighten your dull winter days! It really is a craft that's fun for all ages and can be as elegant or vibrant as you choose! There's no wrong way to craft, you just have to make time for it!
What do you think? Do you see floral crown crafting in your future?


