
Tuesday night I set up the Craft E Magee booth at Unique Creations. I am super excited for the Grand Opening celebration tomorrow. Hope to see you there!

Friday, June 10, 2011
Grand Opening of Unique Creations!
Tuesday night I set up the Craft E Magee booth at Unique Creations. I am super excited for the Grand Opening celebration tomorrow. Hope to see you there!

Saturday, June 4, 2011
Shop opens June 11th!
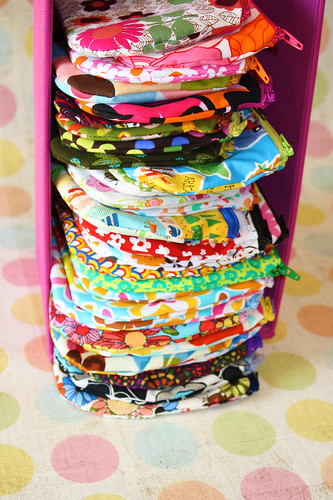
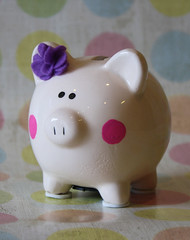
I am so excited that the shop I will be a part of is going to open Saturday, June 11th at 10:00AM. I can't wait to get in there this week and set up my display! I will be selling dolls, zip pouches, piggy banks, and more.
There will also be other booths with gifts and handmade wares made by other local crafters and artists--like a year-round craft fair. With the closing of The Makery in the Highlands, this is something that Louisville really needs!
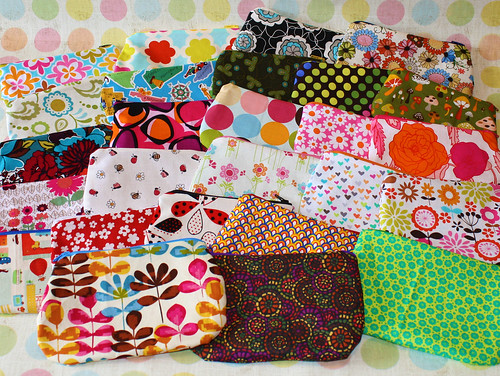
I've been working very hard on finishing enough crafty items to stock my booth, and I hope you will head to Unique Creations to check it out!
9208 Dixie Highway, #101
Louisville, KY 40272
GRAND OPENING
Saturday, June 11th, 2011
10:00AM-6:00PM
Hit me up on the blog or the facebook page if you ever stop by the shop, and let me know what you think!
Friday, May 27, 2011
Big News!
It seems like every time that I keep a blog, there are always big gaps in between my posts, and an eventual apology post for my absence. It has been almost a full month since my last post, but I promise that I did not disappear! I have been working on some crafty things, I just haven't gotten around to posting them.
It's about time for me to share. I have some big news! There is a new Crafter's Mall opening in Louisville, and I will be one of the vendors! My dolls and handmade gifts will be available for sale along with twenty-something other crafters. The shop is on Dixie Highway and will be called Unique Creations.
I will share more information about the location and date of the grand opening soon. I will also be featuring some new dolls and other items in the weeks to come. For now, I will share these little cuties.
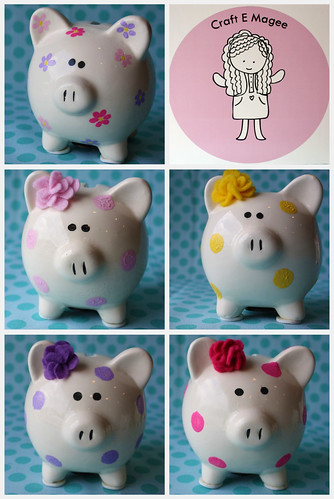
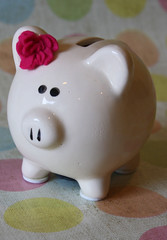
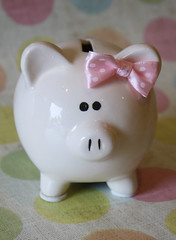
I had the idea for these little piggy banks while trying to think of a going away present for a co-worker who got another job. She liked pigs and the one I made for her was so cute that I decided to make more! I hope you like them!
Wednesday, May 4, 2011
Plastic Egg Jockeys Tutorial

A few years ago I had the idea to make jockeys from plastic Easter eggs. So many of my friends and family enjoyed them that I decided to have a craft session at work where we made them. My co-workers loved them too! Here are the steps to make your very own Jockey decorations for the Kentucky Derby.
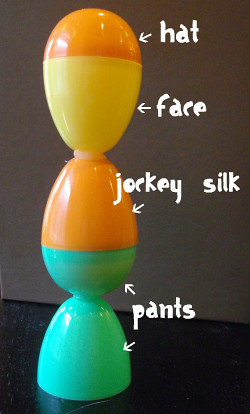
1. For each jockey you will need 3 plastic eggs. Pick one color for the hat and silk shirt (orange in the photo), another color for the pants (green), and a third color for the face (yellow).
2. To assemble the jockey, place the top of the green egg on the table. Snap the bottom of the green egg to the top of the orange egg for the body. Snap the yellow egg top and orange egg bottom together for the head. You will not need the yellow egg bottom for this jockey. Put it aside.
3. Use a hot glue gun to attach the body to the leg base and the head to the body. Let this dry before fiddling with it.
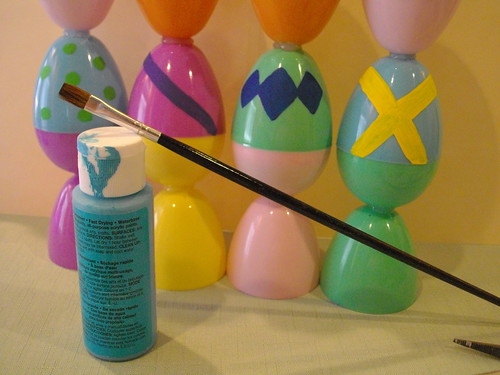
4. Use some acrylic craft paint to create designs for the jockeys' silks.
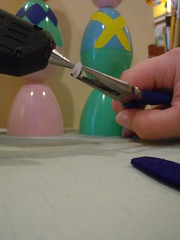
5. The next step is to glue the googly eyes onto your jockeys. Be very careful not to burn yourself with the glue gun on this step. I used needle-nose pliers to hold the googly eyes while I applied the hot glue. Then I put the eyes in place on the jockey's face, still using the pliers.
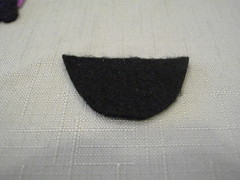
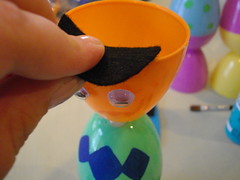
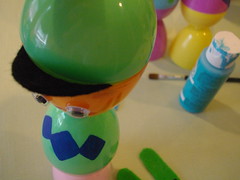
6. For the visor, cut out a half circle shape from felt. I used black felt, but you can use any color that you want. Take the head apart and sandwich the felt in between the pieces. I had no trouble snapping the egg into place with the felt inside.
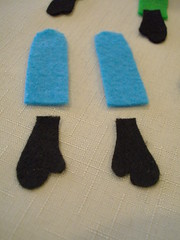
7. Cut out felt arms and hands. I used black felt for gloves and coordinated the arm color to the painted design on the jockeys' silks. Using hot glue, attach the hands to the arms and let dry.
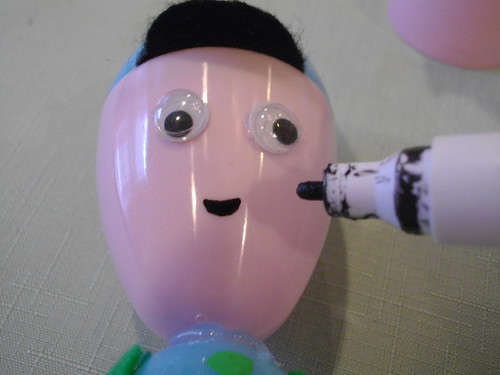
8. The next step is to finish the jockey faces. I just used a black paint pen to make the mouths. You could add noses, hair, and rosy cheeks if you wanted to. Goggles on the jockey hats would be cute too.
9. When the arms are dry, hot glue them to the sides of the jockeys.
10. Once finished, these jockeys will make an adorable decoration for your Derby party.
Sunday, May 1, 2011
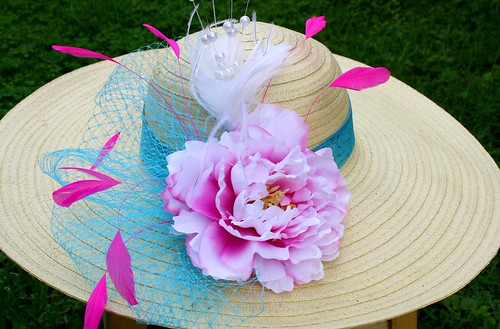
My Derby hat!
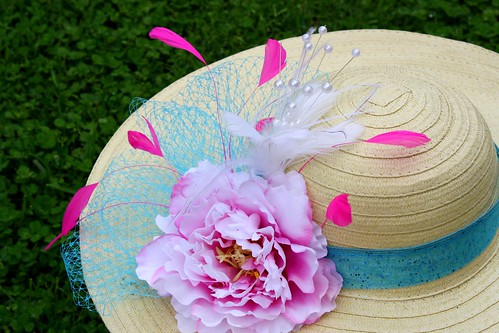
My hat is finished, and I think it looks pretty good. I think my mom and I will make a nice pair with our spiffy hats. This hat was $2.50 in the Target beach section too! It just goes to show that with a little effort and some cool accessories, you can make anything look fancy!
Saturday, April 30, 2011
My new hobby...
... is apparently making Derby hats!
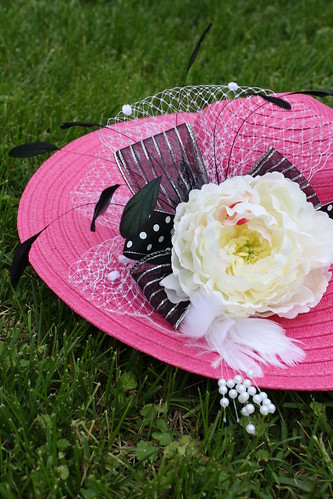
It's fun to take a break from doll-making, although I love that process, to make other things. This week in my hometown of Louisville, Kentucky we are celebrating with the Derby Festival. It technically began with Thunder Over Louisville two Saturdays ago, but this week is when things really get going.
I am most looking forward to watching the Pegasus Parade with my nephew on Thursday and of course, the running of the 137th Kentucky Derby on Saturday!
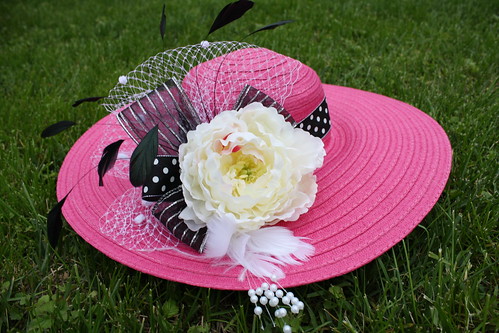
For my Aunt's Derby party, I decided my Mom and I should have some awesome hats! I haven't finished mine yet, but thought I would go ahead and share my Mom's. Would you believe the pink hat was $2.50 from Target in the beach section? A few spiffy accessories, and now it's really something!
It's fun to take a break from doll-making, although I love that process, to make other things. This week in my hometown of Louisville, Kentucky we are celebrating with the Derby Festival. It technically began with Thunder Over Louisville two Saturdays ago, but this week is when things really get going.
I am most looking forward to watching the Pegasus Parade with my nephew on Thursday and of course, the running of the 137th Kentucky Derby on Saturday!
For my Aunt's Derby party, I decided my Mom and I should have some awesome hats! I haven't finished mine yet, but thought I would go ahead and share my Mom's. Would you believe the pink hat was $2.50 from Target in the beach section? A few spiffy accessories, and now it's really something!
Sunday, April 24, 2011

Subscribe to:
Posts (Atom)