Handmade Graduation Card tutorial
Celebrate the graduate in your life, by making them a special card with a diploma and mortar board. You can easily personalize this card and it will be extra special, because it is handmade by you!

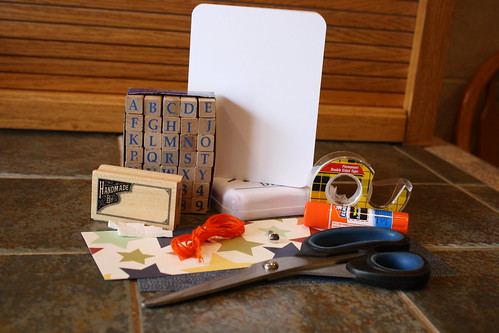
To make this card you will need:
1 blank card
Stamps and ink
Embroidery thread
Metal brad
Glue stick and double stick tape
Decorative paper scraps (1 for background, 1 for mortar board hat)
White paper strip (for diploma)
Scissors
Foam 3-D squares
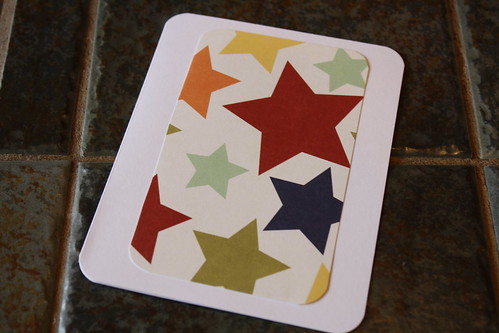
Glue background paper scrap to the blank card. I rounded the corners of the card, and the background paper.
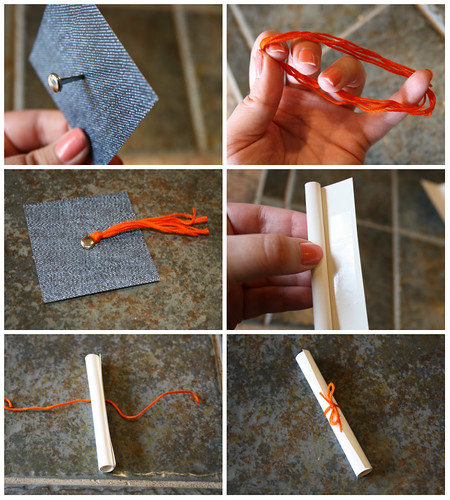
Cut the paper for the mortar board into a square. Push the metal brad through the center of the square. Take the embroidery thread, wrap around your hand three times, and cut one end. Tie the thread around the metal brad to create the tassel for the mortar board. Secure the brad on the opposite side of the hat.
Next create the diploma by rolling up a white scrap of paper. Secure the end with the double stick tape. Take a piece of embroidery thread and tie a bow around the paper diploma.
Using the 3-D foam stickers, attach the mortar board to the card. Next, use the double-stick tape to secure the diploma to the card. Using letter stamps, you can add a message to the front of your card.
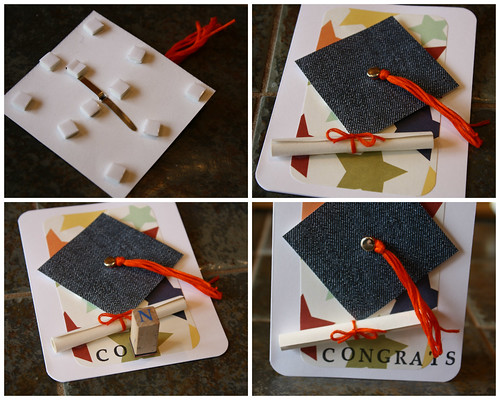
I also stamped "2013" on the card for the graduates!

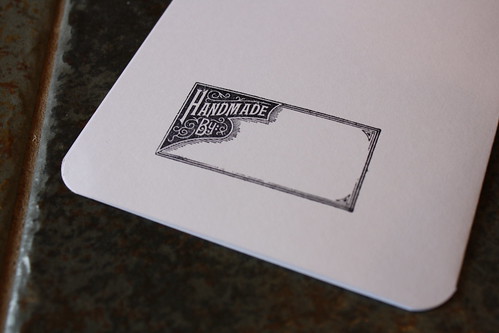
If you have the stamp, you can also add a "Handmade by" spot on the back of the card to sign your name!
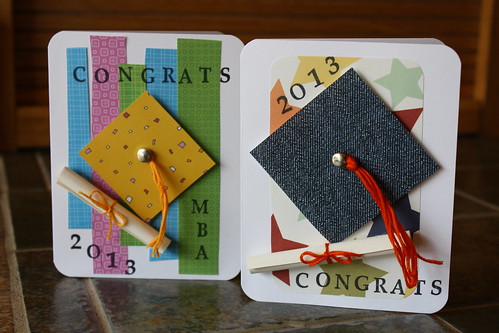
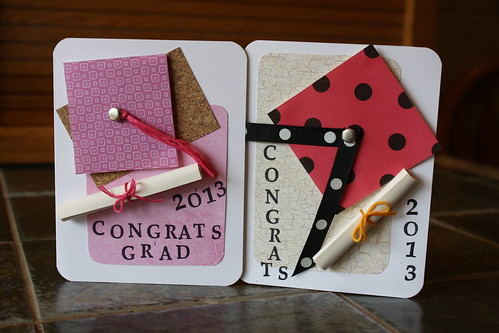
I know a lot of college graduates this month, so I have made several cards for them. You can use any patterned papers to create cards to match school colors for the graduating student! The possibilities are endless!
I hope you enjoy this fun craft!


No comments:
Post a Comment