Whew! I hope you made it through the Holidays! I love this time of year, but it sure is jam packed with people to see and things to do!
Leading up to Christmas this year, I had the amazing opportunity to be on the local show "WDRB in the Morning." It was such great fun, and I am so glad that I got to do it with my friend Julee from D.I.Y. Louisville!
In case you missed it, I've uploaded all the videos to my YouTube channel and placed them here for your viewing pleasure. Enjoy!

Saturday, December 29, 2012
Tuesday, December 18, 2012
Last Minute Gift: Fleece Scarf
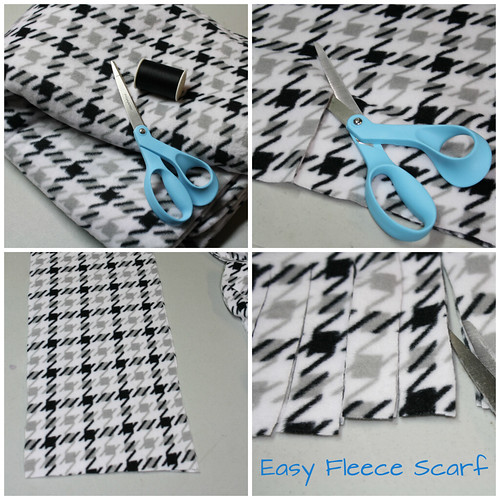
Last-minute gifts can be stressful, but not these fleece scarves! They are simple and sure to please any recipient! All you need is some fleece fabric and scissors for fringed scarves, or fleece, scissors, and thread and needle for scarves with pockets.
For the fringed scarf:
Cut out a long rectangle from your fleece fabric (Fleece can be found in numerous patterns or solid colors at local craft stores).
Cut out a long rectangle from your fleece fabric (Fleece can be found in numerous patterns or solid colors at local craft stores).
The scarf I made is 76 inches long (I measured this based on my desired length) and 9 inches wide.
After you have the scarf size you want, simply make vertical cuts every few inches to add fringe.
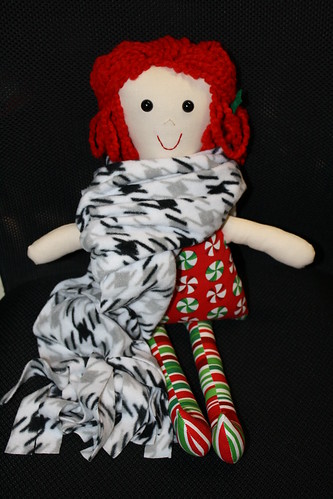
Holly the doll is a fan of this hounds-tooth fleece fringe scarf.
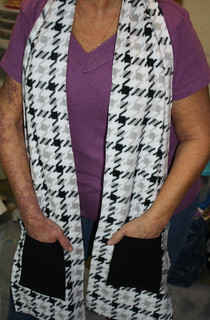
The other option aside from the fringe scarf is the pocket scarf (pictured at right below).

To make the pocket scarf, repeat the above steps minus cutting the vertical fringe pieces.

Take a coordinating piece of fleece fabric (like this solid black) and cut two pockets. My pockets measured 6.75 inches tall and 5.25 inches wide. Again this was based on my personal hand size.
I can actually fit my whole hand in each pocket (although with my thumbs out in the picture it looks deceptively small).
These pockets are perfect to keep your hands safe from the cold and chill as you walk outside this Winter. The fleece is super warm and so versatile, which is an ideal quality for these scarves.
I'd love to see yours if you make them. Comment here or post a photo to my facebook page!
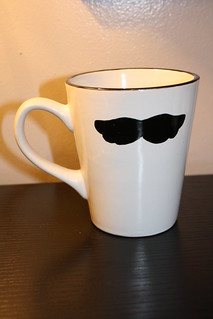
Last Minute Gift: Marker Mugs
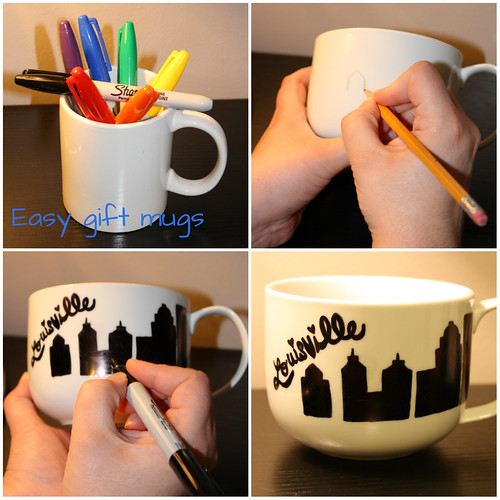
These marker mugs are so easy and can be customized for each person! All you need is a plain ceramic mug (be sure it is oven and food safe), a pencil, and permanent markers!
First, clean your mug and then pencil sketch your idea. The pencil marks can be erased or cleaned with soap and water if you mess up. When you are ready, use a permanent marker to draw directly onto the cup. Last, heat your oven to 350 degrees Fahrenheit and bake your mug for 30 minutes to set the ink. This gift would be perfect with a bag of coffee to the caffeine fanatic that you know and love. Maybe you will make one for yourself!
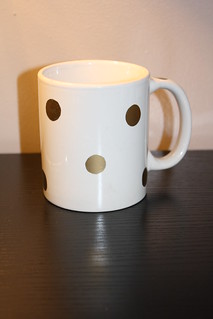
If hand washed, these mugs will last a long time. The possibilities are endless!
It's fun to use metallic markers too!

What is the best last-minute gift that you've ever made? Share your Handmade Holiday experiences in the comments.
Monday, December 10, 2012
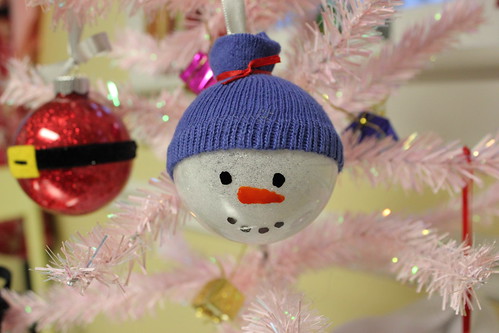
Glitter Snowman Ornament Tutorial
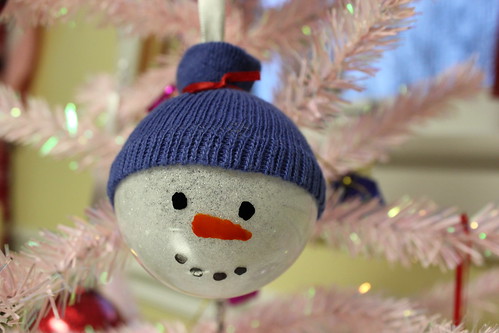
It's the season for Winter crafts! Over the weekend, Julee from D.I.Y. Louisville and I worked on this fun craft where you make glitter glass ornaments with floor cleaner finishing liquid! It's so easy and fun. This craft is great for kids and kids at heart. I mean, who doesn't love glitter?!!
I am going to show you how to make this ornament, and then how to turn it into a cute snowperson!
For the Glitter ornament, you will need:
Glass Ornament bulb(s)
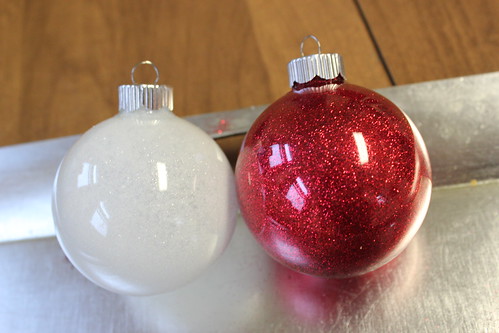
Glitter (white for the snowperson, although I demonstrate with red)
Floor cleaner finishing liquid for tile and vinyl floors
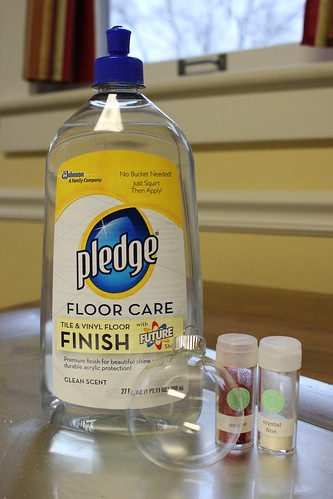
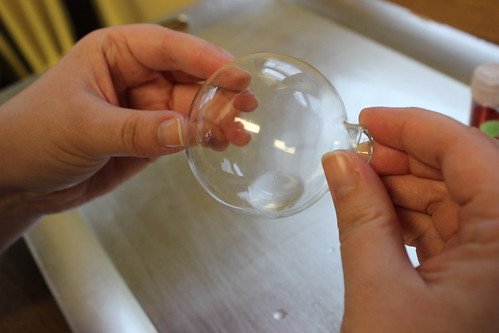
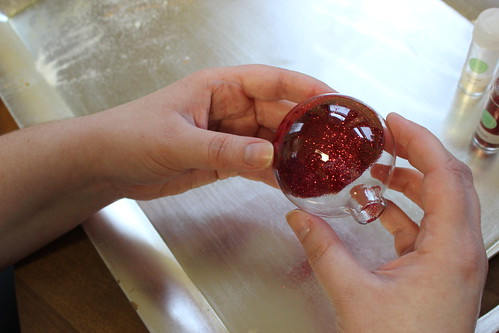
First you need to coat the clear glass bulb with the floor cleaner. Remove the cap from the bottle of floor finish and remove the metal hanger from the glass ornament. Pour a little of the liquid into the bulb.
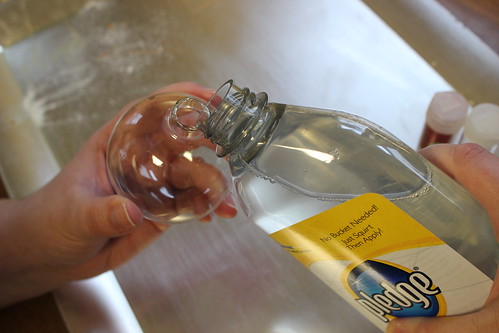
Swirl the liquid around in the bulb, coating all sides of the glass. Then dump the excess liquid back into the bottle.
Next, pour a generous amount of glitter into the ornament.
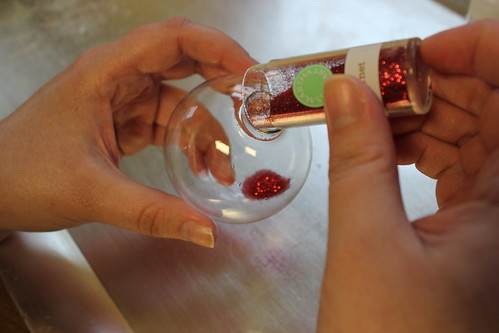
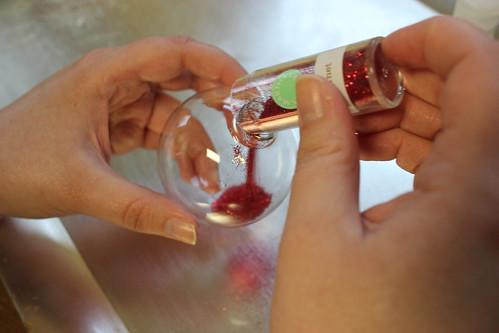
You can swirl the glitter around the inside, or just cover the opening with your thumb (use a paper towel between your thumb and the ornament to prevent a glittered thumb) and shake, shake, shake!
Whether your swirl or shake, be sure the glitter coats the glass bulb. Re-insert the metal ornament hanger.
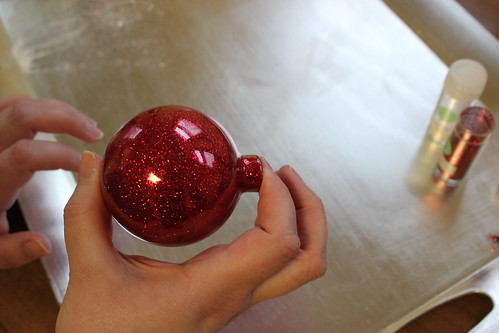
This makes a very pretty ornament by itself, but I like to give my ornaments some personality.
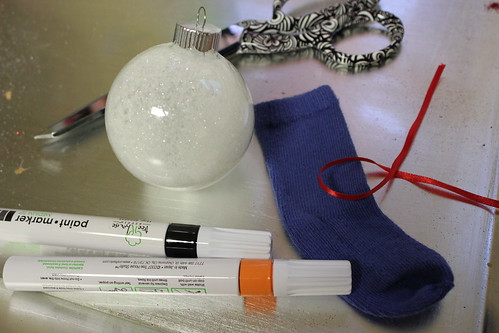
Take your white glitter ornament and gather some other supplies:
Scissors
Ribbon
Paint pens (or permanent markers) in orange and black
A baby (or kid-size) sock
Glue (I prefer hot, glue)
Scissors
Ribbon
Paint pens (or permanent markers) in orange and black
A baby (or kid-size) sock
Glue (I prefer hot, glue)
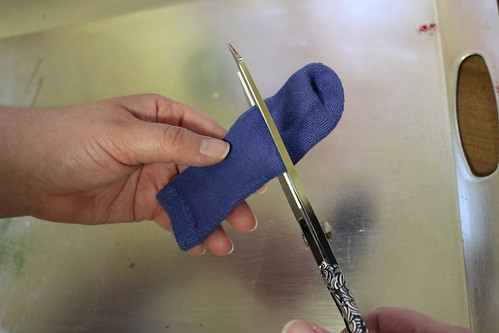
Cut the sock in half at the heel mark.
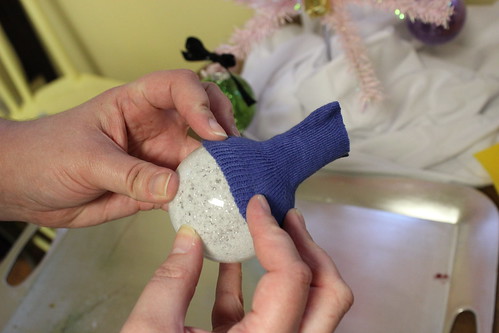
Pull the sock down over the glass ornament about mid-way. Secure with hot glue.
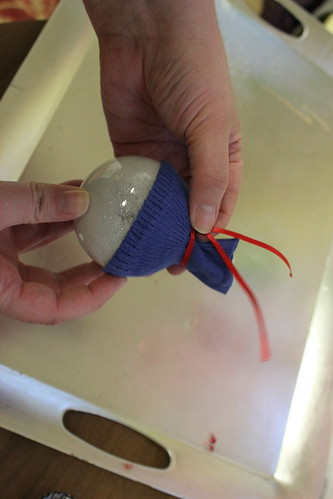
Tie a piece of ribbon around the top of the hat (around the metal ornament hanger).
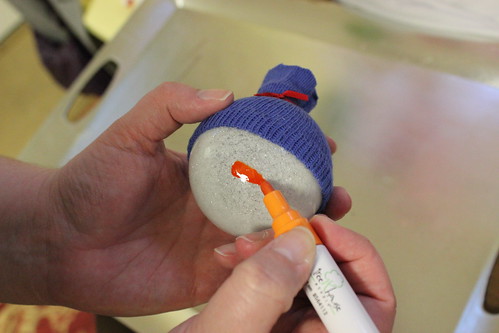
Add the carrot nose...
...and coal eyes and mouth...

...and you've got the cutest snowperson ornament around!

Add some ribbon to the ornament hanger and place on your tree. Admire your handy work, or wrap it up and gift it to someone else. They will be sure to admire your cute creation!
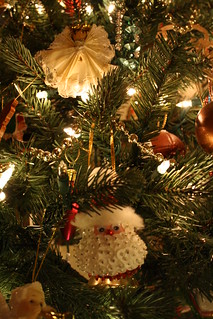
See that Santa belly ornament peaking out in that photo? Julee shows you how to make that, and some other fun ornaments over at D.I.Y. Louisville!
Sunday, December 9, 2012
It's the most wonderful time of the year!

Maybe it's silly, but it feels extra special to spend my birthday in the month filled with beautiful lights, decorations, and an abundance of happiness and goodwill from those around me. Now, if we could just have a magical snow fall, it would be perfect.
We have been baking, and the treats are yummy!
Drum
Roll
Please
----------------------
Julee of D.I.Y. Louisville and I are going to be on television! WDRB in the Morning is going to have us on air this week!
Set your DVRs to WDRB on Wednesday, December 12. We are doing two segments, one at 7:45am EST and one at 8:15am EST.
Big shout out and thank you to Sterling, Candyce, and Cara for bringing us on!
We have an awesome craft to share, just in time for Christmas, so be sure to check it out!
Wednesday, December 5, 2012
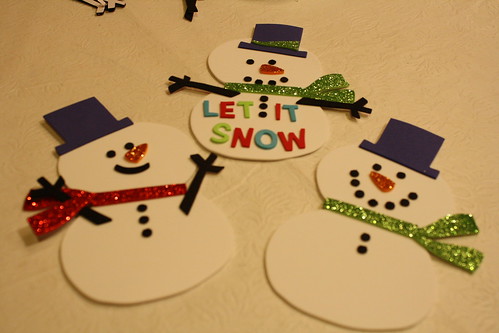
DIY Louisville: Handmade Ornament meet-up

Tonight I got together with the wonderful crafters of D.I.Y. Louisville to make handmade ornaments for the Holidays.
Julee created a snow person template which we used to cut out the shapes. Then we crafted away using felt, seed beads, and embroidery thread.
One of the things I love about our craft-a-longs is seeing how unique each person's finished project is. Even though we all started with the same materials, each ornament ended up with its own personality and flair.

Join us next Wednesday night for our annual Handmade Ornament swap! Find the details on the D.I.Y. Louisville page. Hope to see you there! We'll have some sweet treats and lots of fun!

Monday, December 3, 2012
Non-Traditional Holiday Decorations
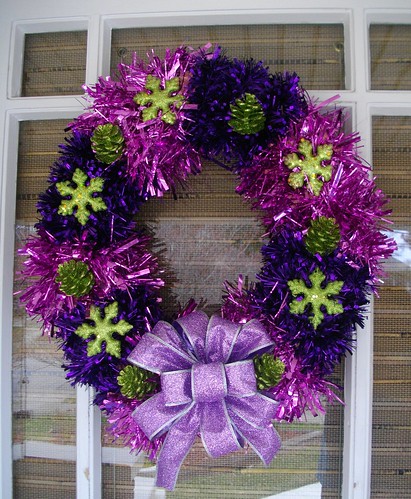
Modern Christmas Wreath, a photo by E. Magee on Flickr.
That is how I came up with this wreath for my front door. With purples, magenta, and lime green, there is nothing traditional about this decoration!
The wreath was created with a foam circle base. I bought magenta and purple tree garland and wrapped those around the foam base in alternating stripes. I secured the garland with hot glue.
Next I used sparkly foam snowflakes and pine cones to decorate the wreath.
Last I topped it off with a big, glittery, purple & silver bow (instructions on bow making can be found here).
It definitely brightens up our porch during the dark December days.
What are some of your favorite non-traditional Holiday decorations or color palettes?
Subscribe to:
Posts (Atom)