Friday, August 3, 2018

Carnival themed party

Five *cough* years *cough* ago, we celebrated my grandmother's 80th birthday with a carnival/circus themed party. Apparently, this blog post has been sitting in my drafts ever since, so now it's time for it to see the light of day!

Craft E Magee teamed up with family to celebrate a fantastic lady's birthday: Grandma Janet! What carnival/circus themed party would be complete without games, a clown, and fun treats? Scroll down to see all of the fun things that made this party a spectacular extravaganza!

J and I handmade illustrated posters for each of the sections of the space where we hosted the party. 


I also got some clear plastic gallon "paint" buckets to make inexpensive centerpieces. Simply add some red and white striped scrapbook paper (for about 25 cents) around the inside, securing with tape, and you've got the perfect circus centerpiece. Top it with a plastic tiger or elephant and you're all set!


A photo booth is a must for any extravaganza, so family members helped gather props to use against a red and white striped piece of fabric that served as our backdrop. 


Mr. J and I went with black and white and red all over for our photo!

We even had a friendly clown at the party which was a hit with the kiddos.


Simple games like ring toss, tic-tac-tow, and bowling were easy for the kids to play without parental guidance.


Party treats included animal crackers, peppermints, Pixy Stix, gumballs, Cracker Jack, Circus Peanuts (marshmallows), ring pops, and more. You will notice we utilized some old trunks for some of the props and treats at the party. It's a fun way to carry the theme even further.


If you have a Jack-in-the-box on hand, it would make a great centerpiece as well!


Or simply fill some popcorn boxes and let people grab and go!


We were lucky to borrow a popcorn machine, which added to the festivities.


A simple, but special way to decorate the cupcake stand is to use paper raffle tickets around each tier. Affix tickets with tape so you can re-use your cupcake stand with other themes.


Along with desserts, and carnival foods, we had some healthier fare options too, including fruits, veggies, and salad.


It really was a fun party full of our large family and even some of Grandma's friends. Thanks to my family for helping to pull off this wonderful 80th birthday extravaganza for this fabulous woman!


Have you ever thought about doing a circus theme or carnival theme party? I'd love to hear about it or see links in your comments. Party on!

Monday, January 22, 2018

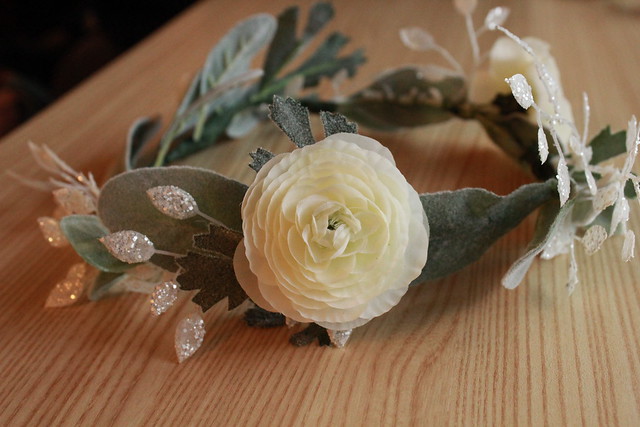
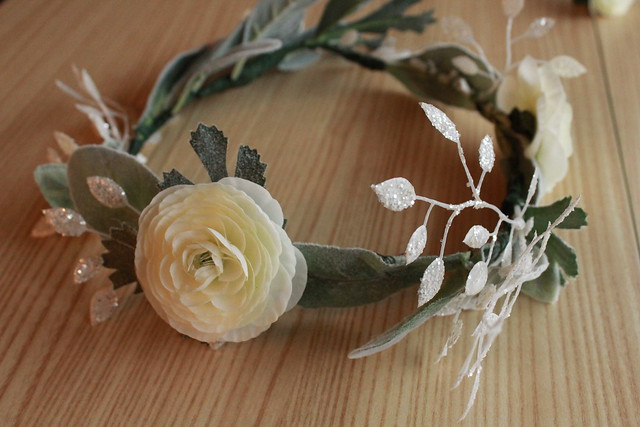
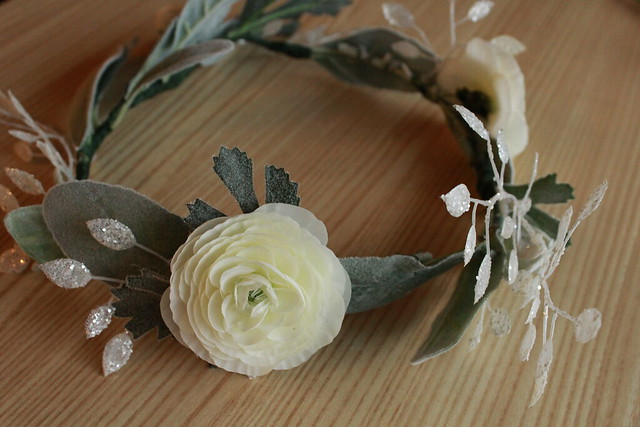
Winter floral crown

Usually after the December holidays, and all of the crafting opportunities that season provides, I find myself in a January slump. I'm never sure what to do with the cold weather, although being stuck indoors is really the perfect time for crafting! I decided to embrace winter with this next craft, and make a frosty floral crown. 


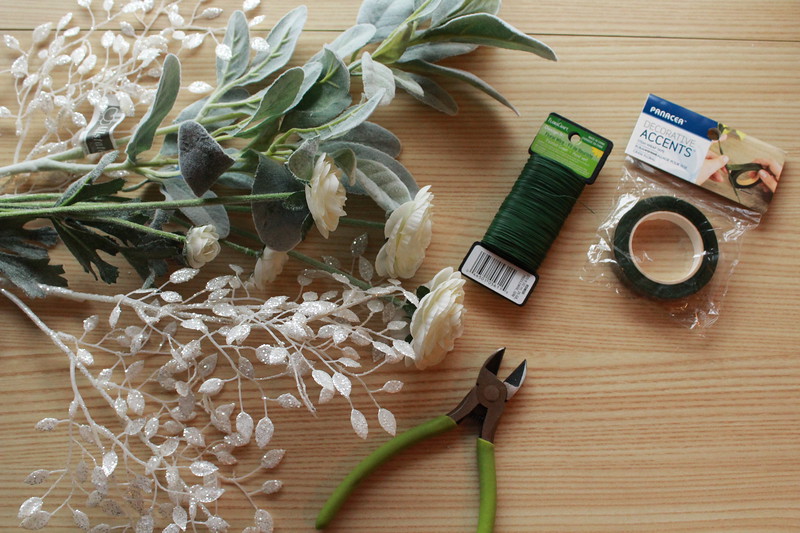
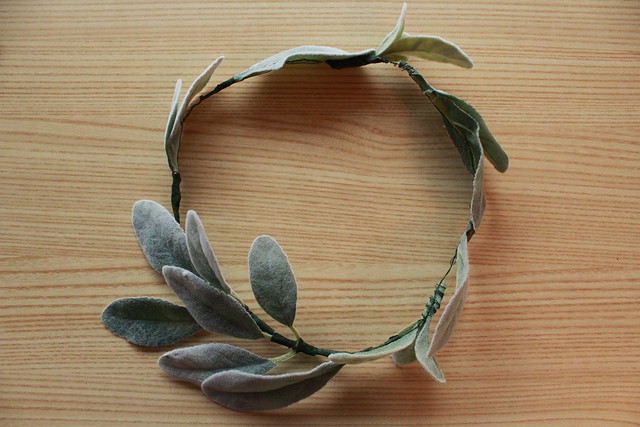
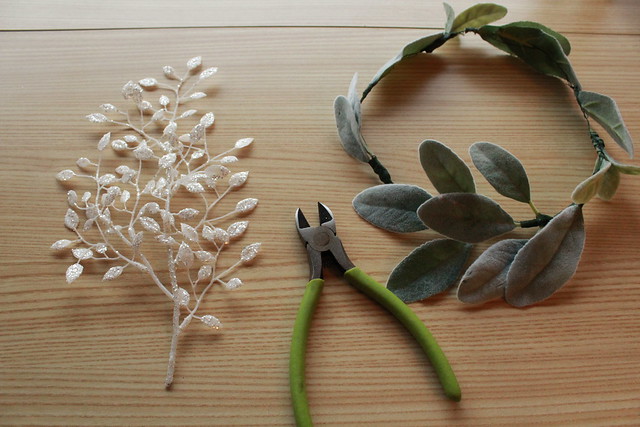
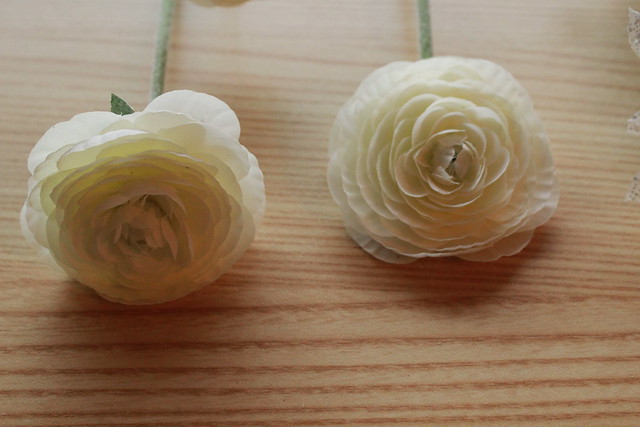
I was inspired by some faux Lamb's ear leaves at the craft store, and grabbed some pretty white flowers and glitter leaves in the same section.

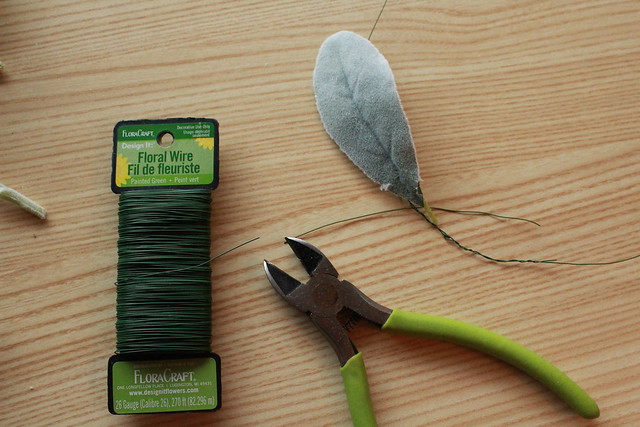
This is a pretty easy craft because the only things you need are:

  • faux flowers and leaves
  • floral wire
  • floral tape
  • wirecutters
  • piece of string to measure head size (optional)
Floral Crown step by step


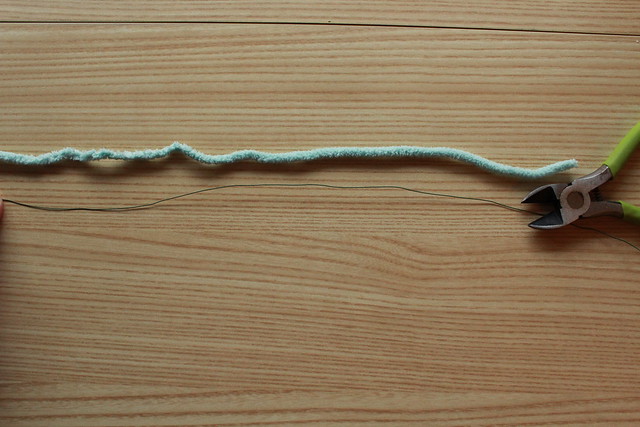
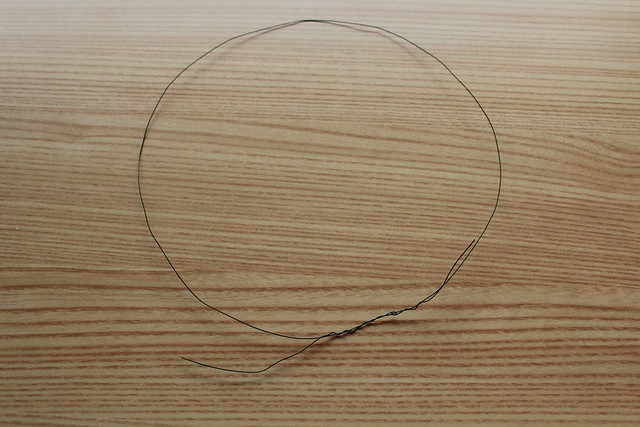
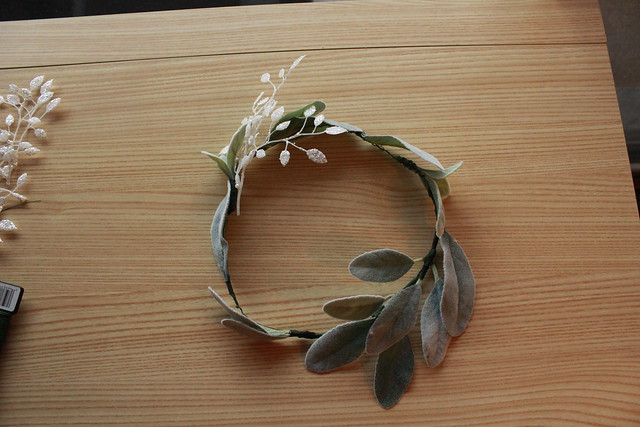
1. Measure your head with a piece of string, pulling taut, and cut to length.

2. Cut a length of floral wire the same length as the string, plus a bit more wire to twist tie together.

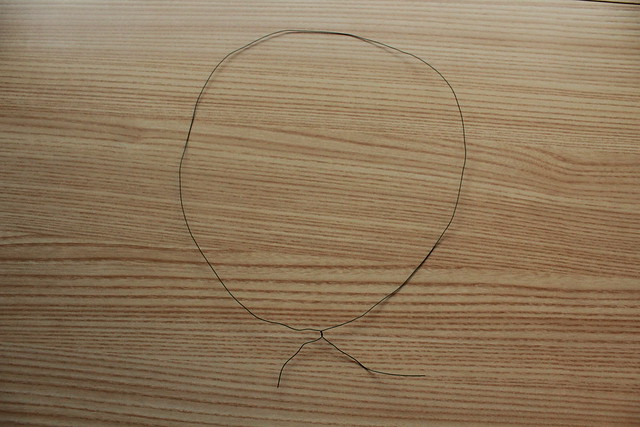
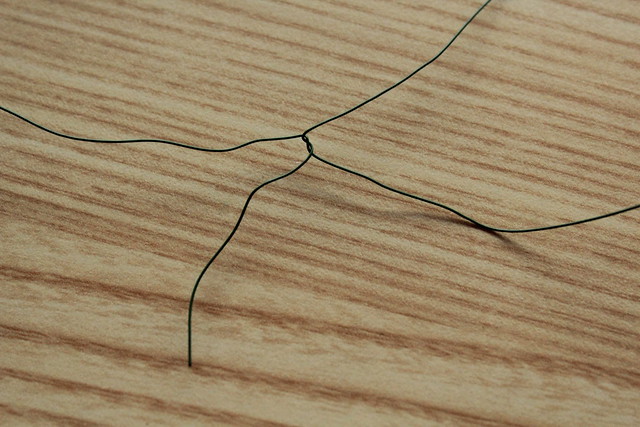
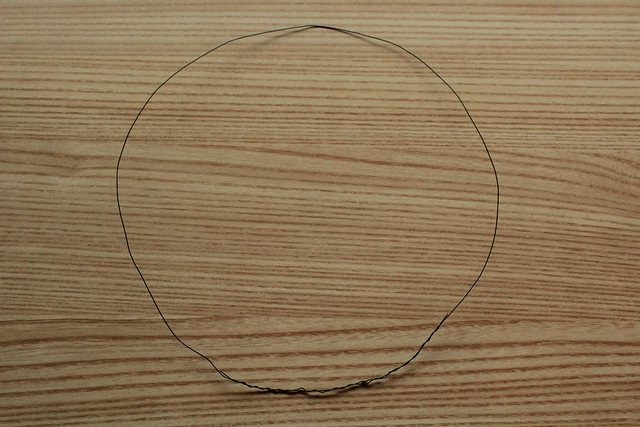
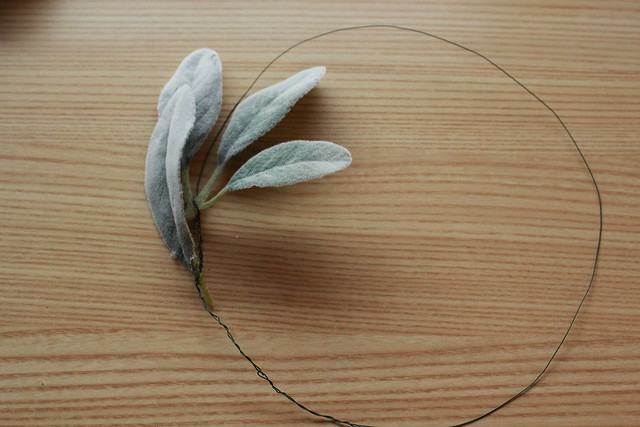
3. Make circle shape with floral wire and twist tie ends together, wrapping wire until no loose pieces remain.

Floral Crown step by step Floral Crown step by step

Floral Crown step by step Floral Crown step by step

Floral Crown step by step Floral Crown step by step

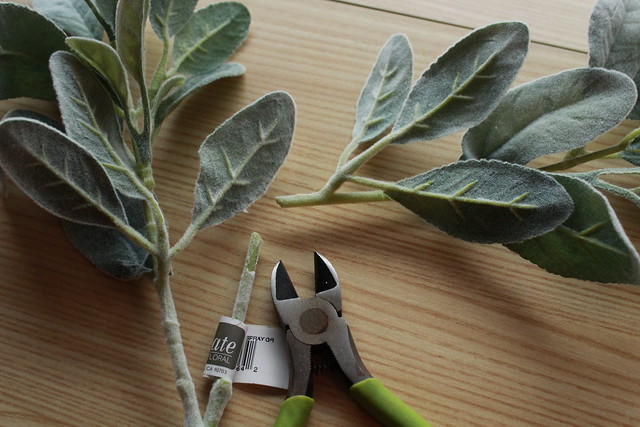
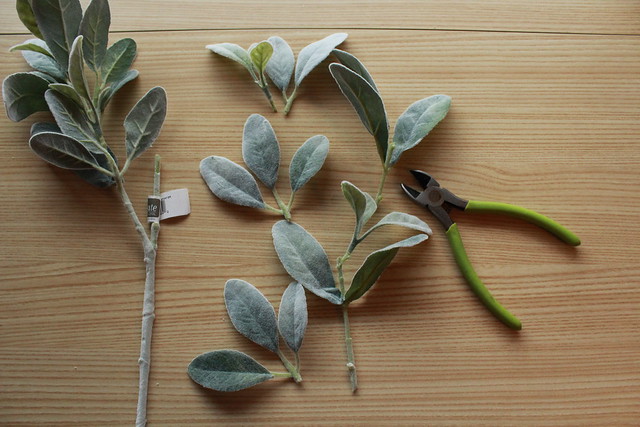
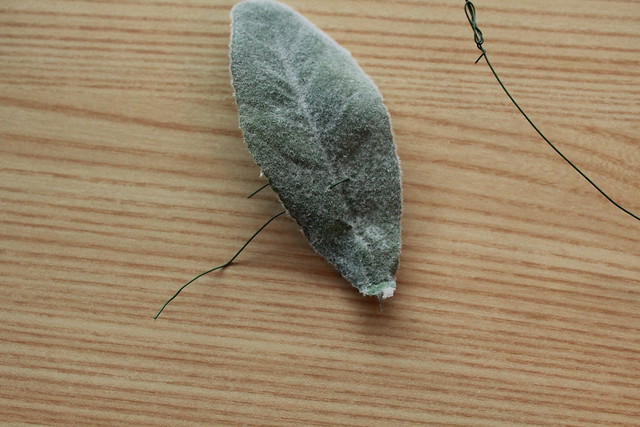
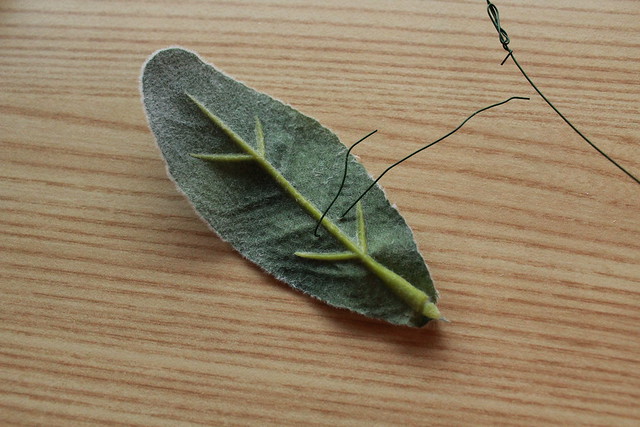
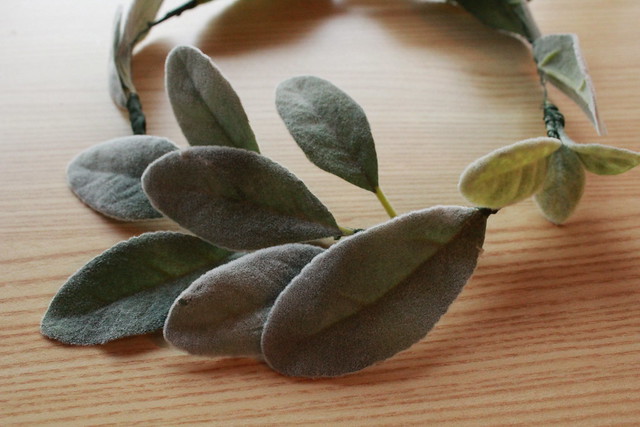
4. Clip Lamb's ear leaves into smaller sections, leaving some groups, and some single leaves.

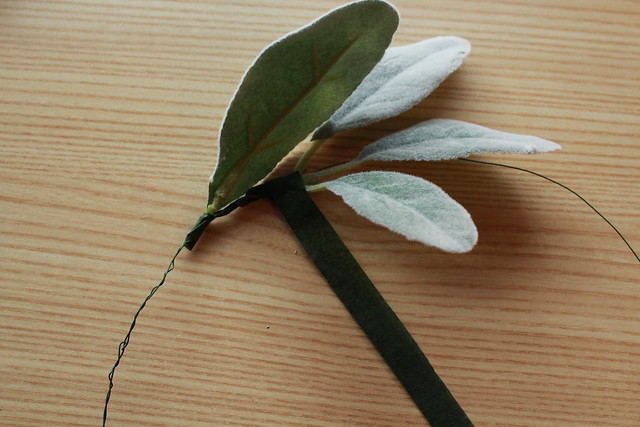
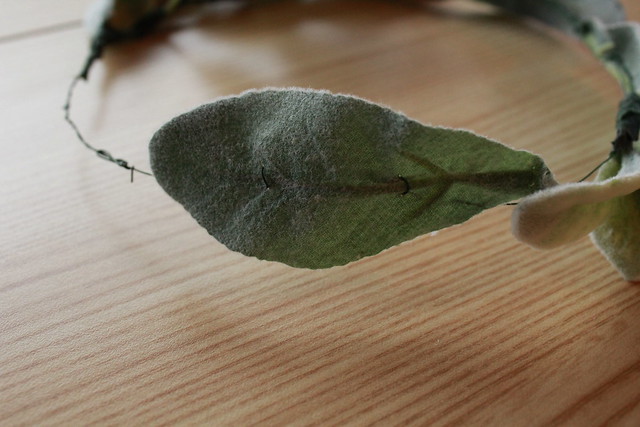
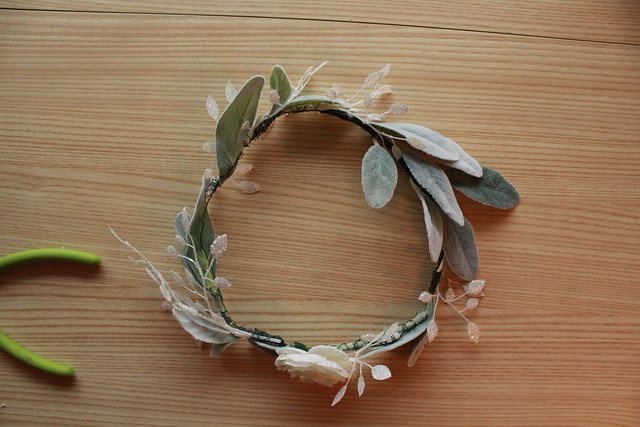
5. Using floral wire, attach leaves to "crown" piece.

6. Once you've wired some leaves to the crown, wrap that with floral tape to secure leaves. Hot glue is optional, but I stuck with just wire and tape for my floral crown. I didn't want the hot glue "webs" to mess up my flowers or leaves.

Floral Crown step by step Floral Crown step by step

Floral Crown step by step Floral Crown step by step

Floral Crown step by step Floral Crown step by step

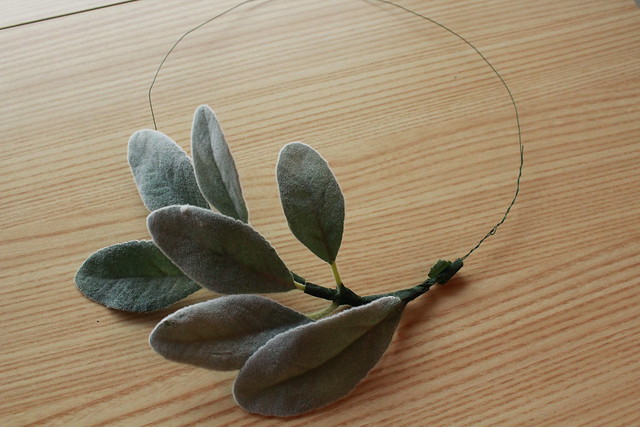
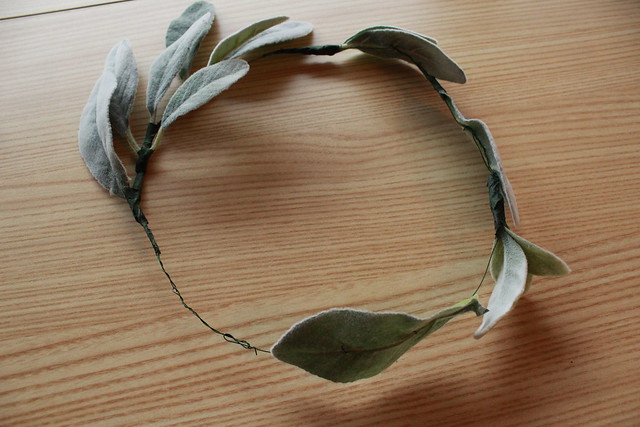
7. Some leaves should be secured at the ends and others in the middle to keep the natural look of the leaves around the crown. If all the leaves were sticking out (secured at ends) or flush to crown (secured in the middle), the crown would loose the natural look we are going for.

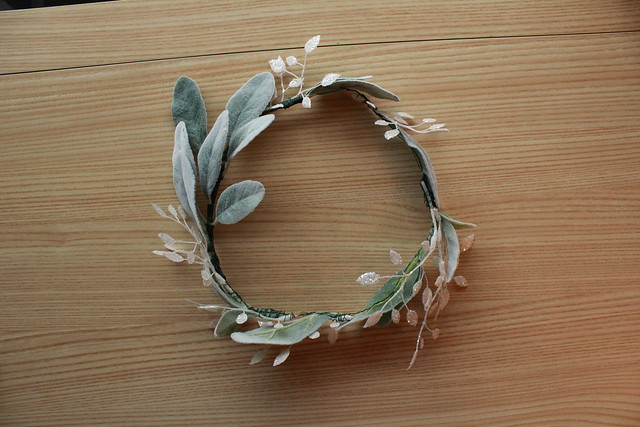
8. Continue adding leaves around the crown, leaving some gaps for your other florals.

Floral Crown step by step Floral Crown step by step

Floral Crown step by step Floral Crown step by step

Floral Crown step by step Floral Crown step by step

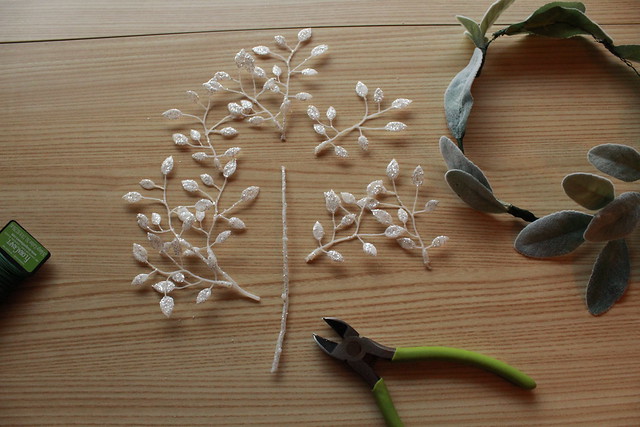
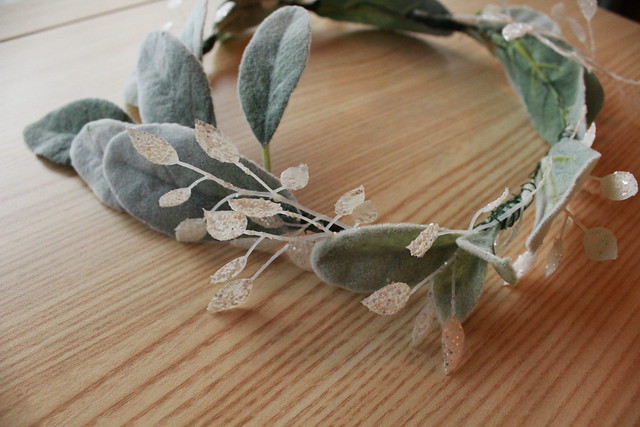
9. After I was satisfied with the number of Lamb's Ear leaves on the crown, I switched to the white plastic glitter leaves. As with the Lamb's Ear leaves, secure some pieces at the end and some pieces in the middle. This allows the pieces to stick out or stay flush with the crown, depending on how you choose to secure them.

Floral Crown step by step Floral Crown step by step

Floral Crown step by step Floral Crown step by step

10. Once you've added all of the white glitter leaves, it's time for the flowers!

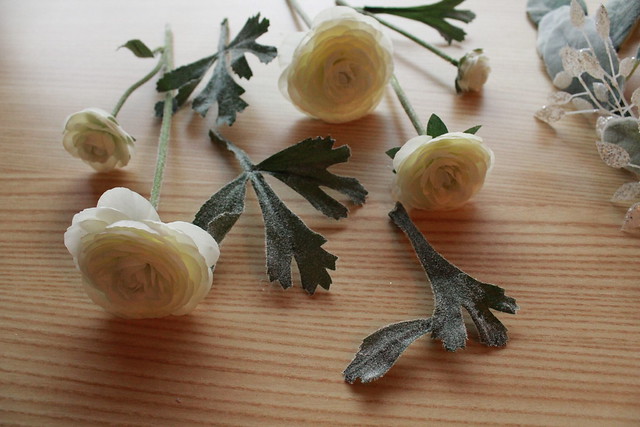
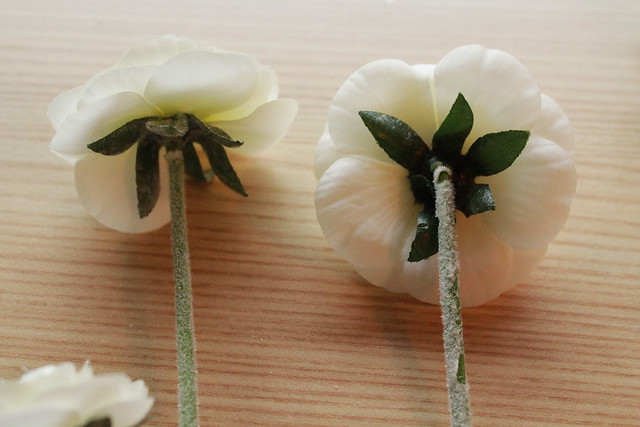
11. To make it easier to secure the flowers to my crown, I folded the stems to be flat or flush with the flower. That way, I could wire the stem to the crown without the flower sticking out too much.

Floral Crown step by step Floral Crown step by step

Floral Crown step by step Floral Crown step by step

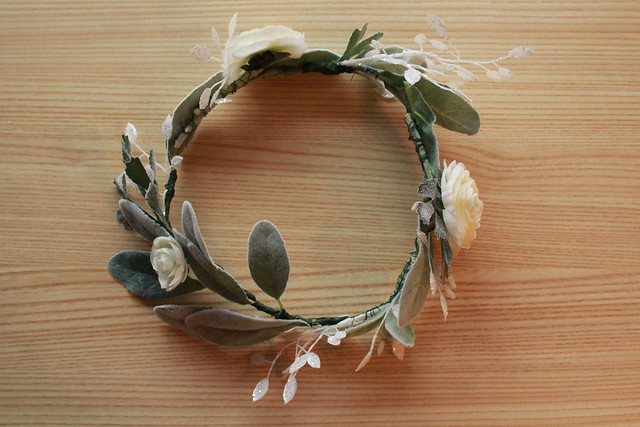
12. Now is a good time to decide where the front of your crown is. Go to a mirror and decide which part of the crown best flatters your face. Once you know which part is the front, decide if you want to place all the flowers at the front, or back, or spread them around the crown. I chose to spread my flowers out.

13. You can also use the leaves from the flowers to add some more texture to your floral crown. I did this with my crown.

Floral Crown step by step Floral Crown step by step

14. After securing the pieces with floral wire, remember to add floral tape to make everything extra secure. Again, you could use hot glue if you wanted to, but hot glue can easily pop off and the strings of glue sometimes create webs on your craft that you have to clear away.

15. Admire your work! Channel your inner winter mystic and wear your floral crown with pride!

Floral Crown step by step

Floral Crown step by step

I hope you enjoyed this easy craft project and that you can use it to brighten your dull winter days! It really is a craft that's fun for all ages and can be as elegant or vibrant as you choose! There's no wrong way to craft, you just have to make time for it!

What do you think? Do you see floral crown crafting in your future?

Saturday, January 13, 2018

Snow Day crafts

Happy New Year!

It's early January, and for many part of the U.S. that means snowy weather is in the forecast! Louisville actually had enough snow and ice yesterday to cancel school. If you're looking for some ideas to entertain the kiddos (or yourself), here are some ideas!


Instead of using ribbon to make ornaments, try a magnet on the back to stick on the fridge. Another tip--other lids like from peanut butter and jelly jars would also work. Just use the "top" of the lid as the back of the "frame" for your photos.


If you have children at home, you probably have some wooden blocks that aren't being used. Re-purpose them by cutting shapes out of craft foam and gluing the foam to the block to create a handmade stamp!


Let the kiddos play with their food for once by using small marshmallows and toothpicks to make shapes. My nephew taught me this craft a few years ago. You might even try to make a crown, like we did.


My nephew and I did this craft for Presidents Day one year. It's easy for kids of almost any age, and is a budget friendly way to keep them entertained at home.


As you can see, stamps are popular around here. That's probably because they are such a cheap way to craft with household items! This is another craft easy enough for any skill level. My nephew and I used a Kentucky shaped cookie cutter for some of our stationary.

-------------------------------------------------------------------------

Hopefully you have enjoyed some of these easy craft ideas for snow days! I know there are always shows or movies to watch or cookies to bake, but sometimes it's nice to entertain yourself or your kids with something crafty!

Thursday, February 18, 2016

Family heirloom

One of these days I will get back to posting craft tutorials, but I wanted to share photos of a beautiful family heirloom that I now own. Recently my Grandmother made the difficult decision to sell my father's childhood home. Her new place is small, so she asked that the family come together and choose pieces that would mean something to each of us. I was able to select this antique display case that belonged to my Great Grandmother.


My husband and I decided to place the case in our living room and fill the inside with a bell that I purchased in the Czech Republic, some pottery we received for our wedding, and some other mementos from my grandmother. I just love that we are able to see all of these special items every day because of the prominence of the display case in our home.


The display case also has a functioning drawer at the bottom where I placed tablecloths, place mats, cloth napkins, and other items that I didn't have a place to put before! When we first opened the display case, I swore that I could smell my Great-Grandmother's home. It's funny how scent is so tied to memory! I will enjoy thinking of my Grandmother and Great Grandmother every time I look at this piece, which is my favorite part about family heirlooms! This piece will certainly be a much-loved item in our home for years to come.


Do you have a family heirloom that you love? Please share with me in the comments section!

Sunday, February 7, 2016

Our Wedding

When J and I decided to get married we knew we wanted to have an intimate ceremony. That led us to exchanging our vows in front of only 12 people in our living room one Saturday afternoon in December.
We had just moved in to our new home two weeks before the wedding and after spending the summer renovating it. It was special for us to have such an easy ceremony in our own home.


We wanted to invite more of our friends and family to participate so we hosted a cake and punch celebration at the lodge at George Rogers Clark Park in Louisville, Kentucky. 
The lodge itself is pretty rustic, but with our theme and the amazing help of our awesome friend Julee (DIY Louisville), the space was truly transformed. We wanted to have a book/library themed wedding and Julee did not disappoint. 


Julee used our book theme with some beautiful jewel toned colors (blue, magenta, purple, and green) and splashes of gold to transform the space. She displayed frames with quotes along with stacks of books and also used small vases filled with flowers that we picked out from our local Kroger the day before. She even surprised us for the evening reception with a walkway lined with luminaries. I really wish I had more photos of all the amazing details!


We were also able to coordinate with the cake baker to use the same flowers on our cake that we used for my bouquet and the reception floral arrangements. 


Our cake was made by Erin of Sugarbites and each of the three layers had a different flavor, and they were all delicious! The cake had strawberry on top, bourbon chocolate in the middle, and Italian cream cake on the bottom, all with buttercream icing! Sooo good!
 I will definitely post more of the details soon, including our vows, and some of the special crafty things that we created for our big day!